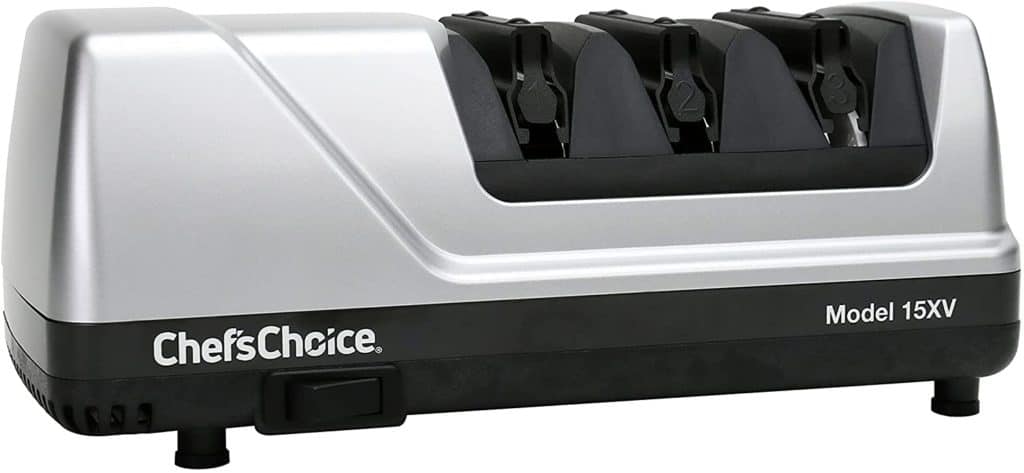
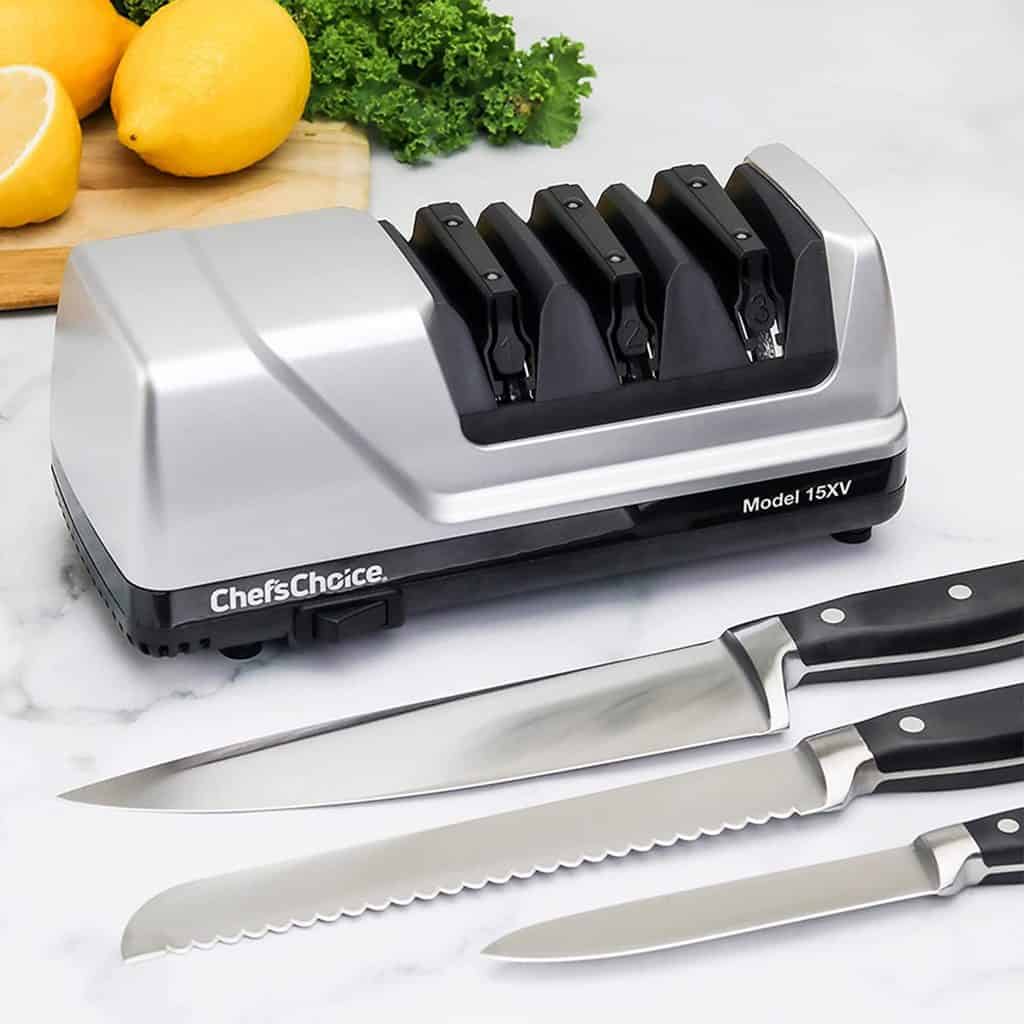
How do you sharpen your dull kitchen knife at home? As a chef, I always advise keeping your knives super sharp so you have less chance of cutting yourself. A dull knife causes more slips and accidents, due to pressing down with more force. Plus, you never know where that waxy onion skill will send your knife flying unless you have a good grip. That’s why I recommend sharpening your knife at home regularly and easily using an electric sharpener, namely the Chef’s Choice Trizor 15XV to be exact.
And in case you’re wondering no, this is NOT sponsored. I bought one with my own money and tell basically everyone I know to get this gadget so they can also achieve stress-free sharpening at home. By the way, you may notice that the images I’m using in this blog entry and what you’ll see in Amazon will probably not match what mine looks like in our video.
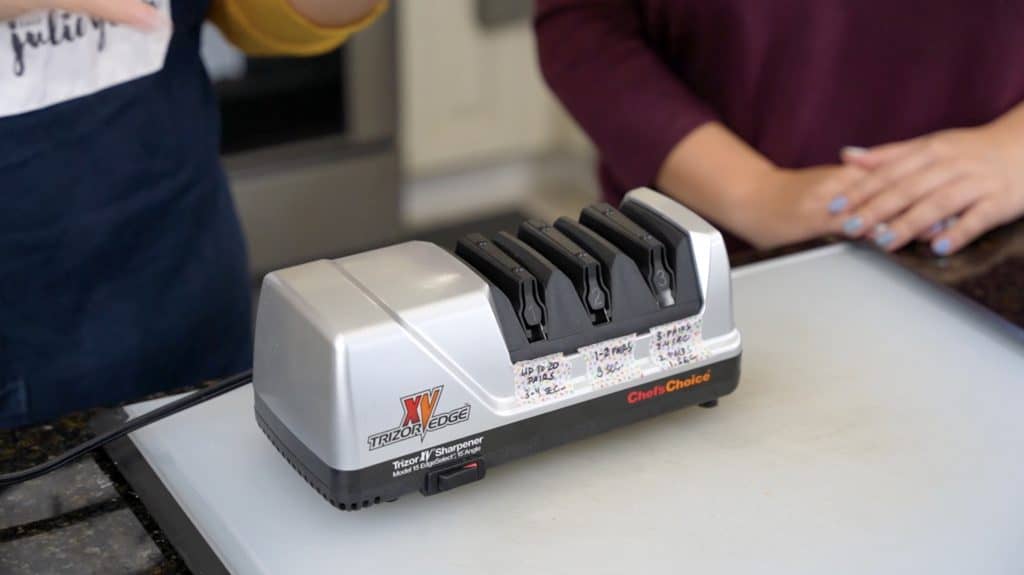
That’s because one is older and the other is newer, but I actually don’t know which is which. But besides aesthetics, the model is the same with the same functions. Just look to make sure it has the same features as what I’m describing.
This knife sharpener, although it comes with a hefty price tag, is totally worth it because it keeps my inexpensive chef’s knife razor sharp and in peak working condition. Yes there are manual sharpeners out there that cost a lot less, but only an electric one will truly get that superior edge.
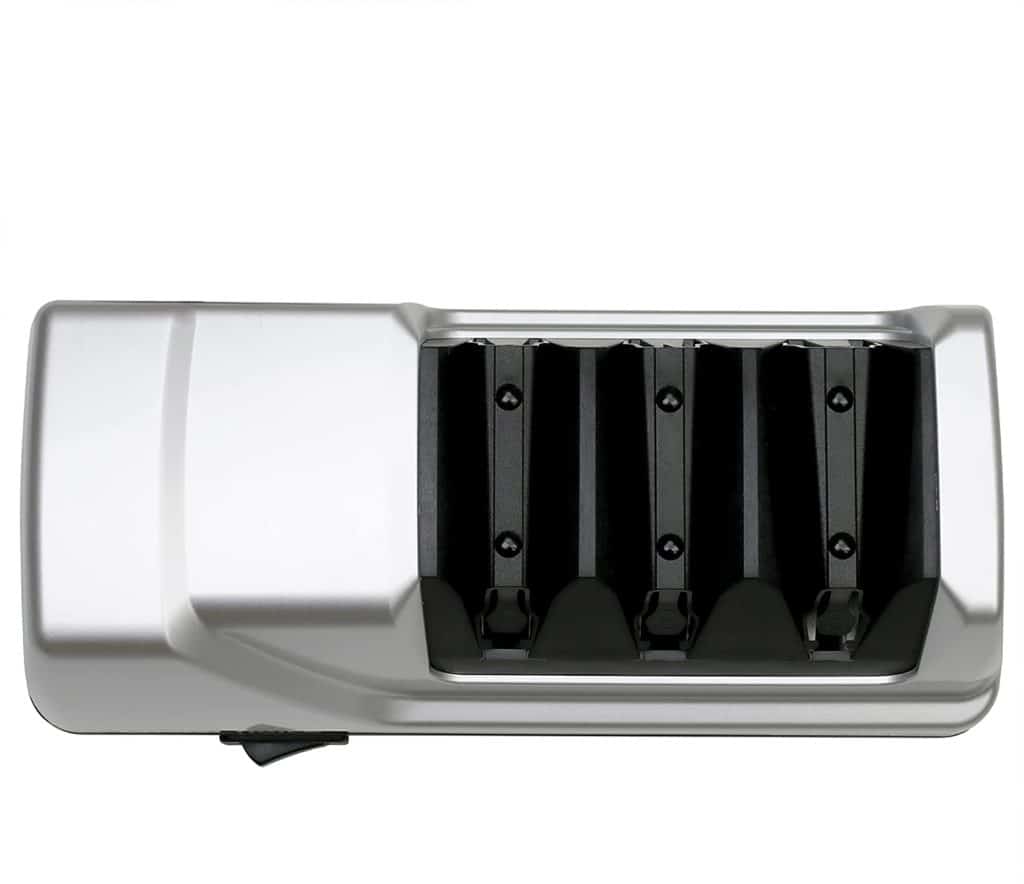
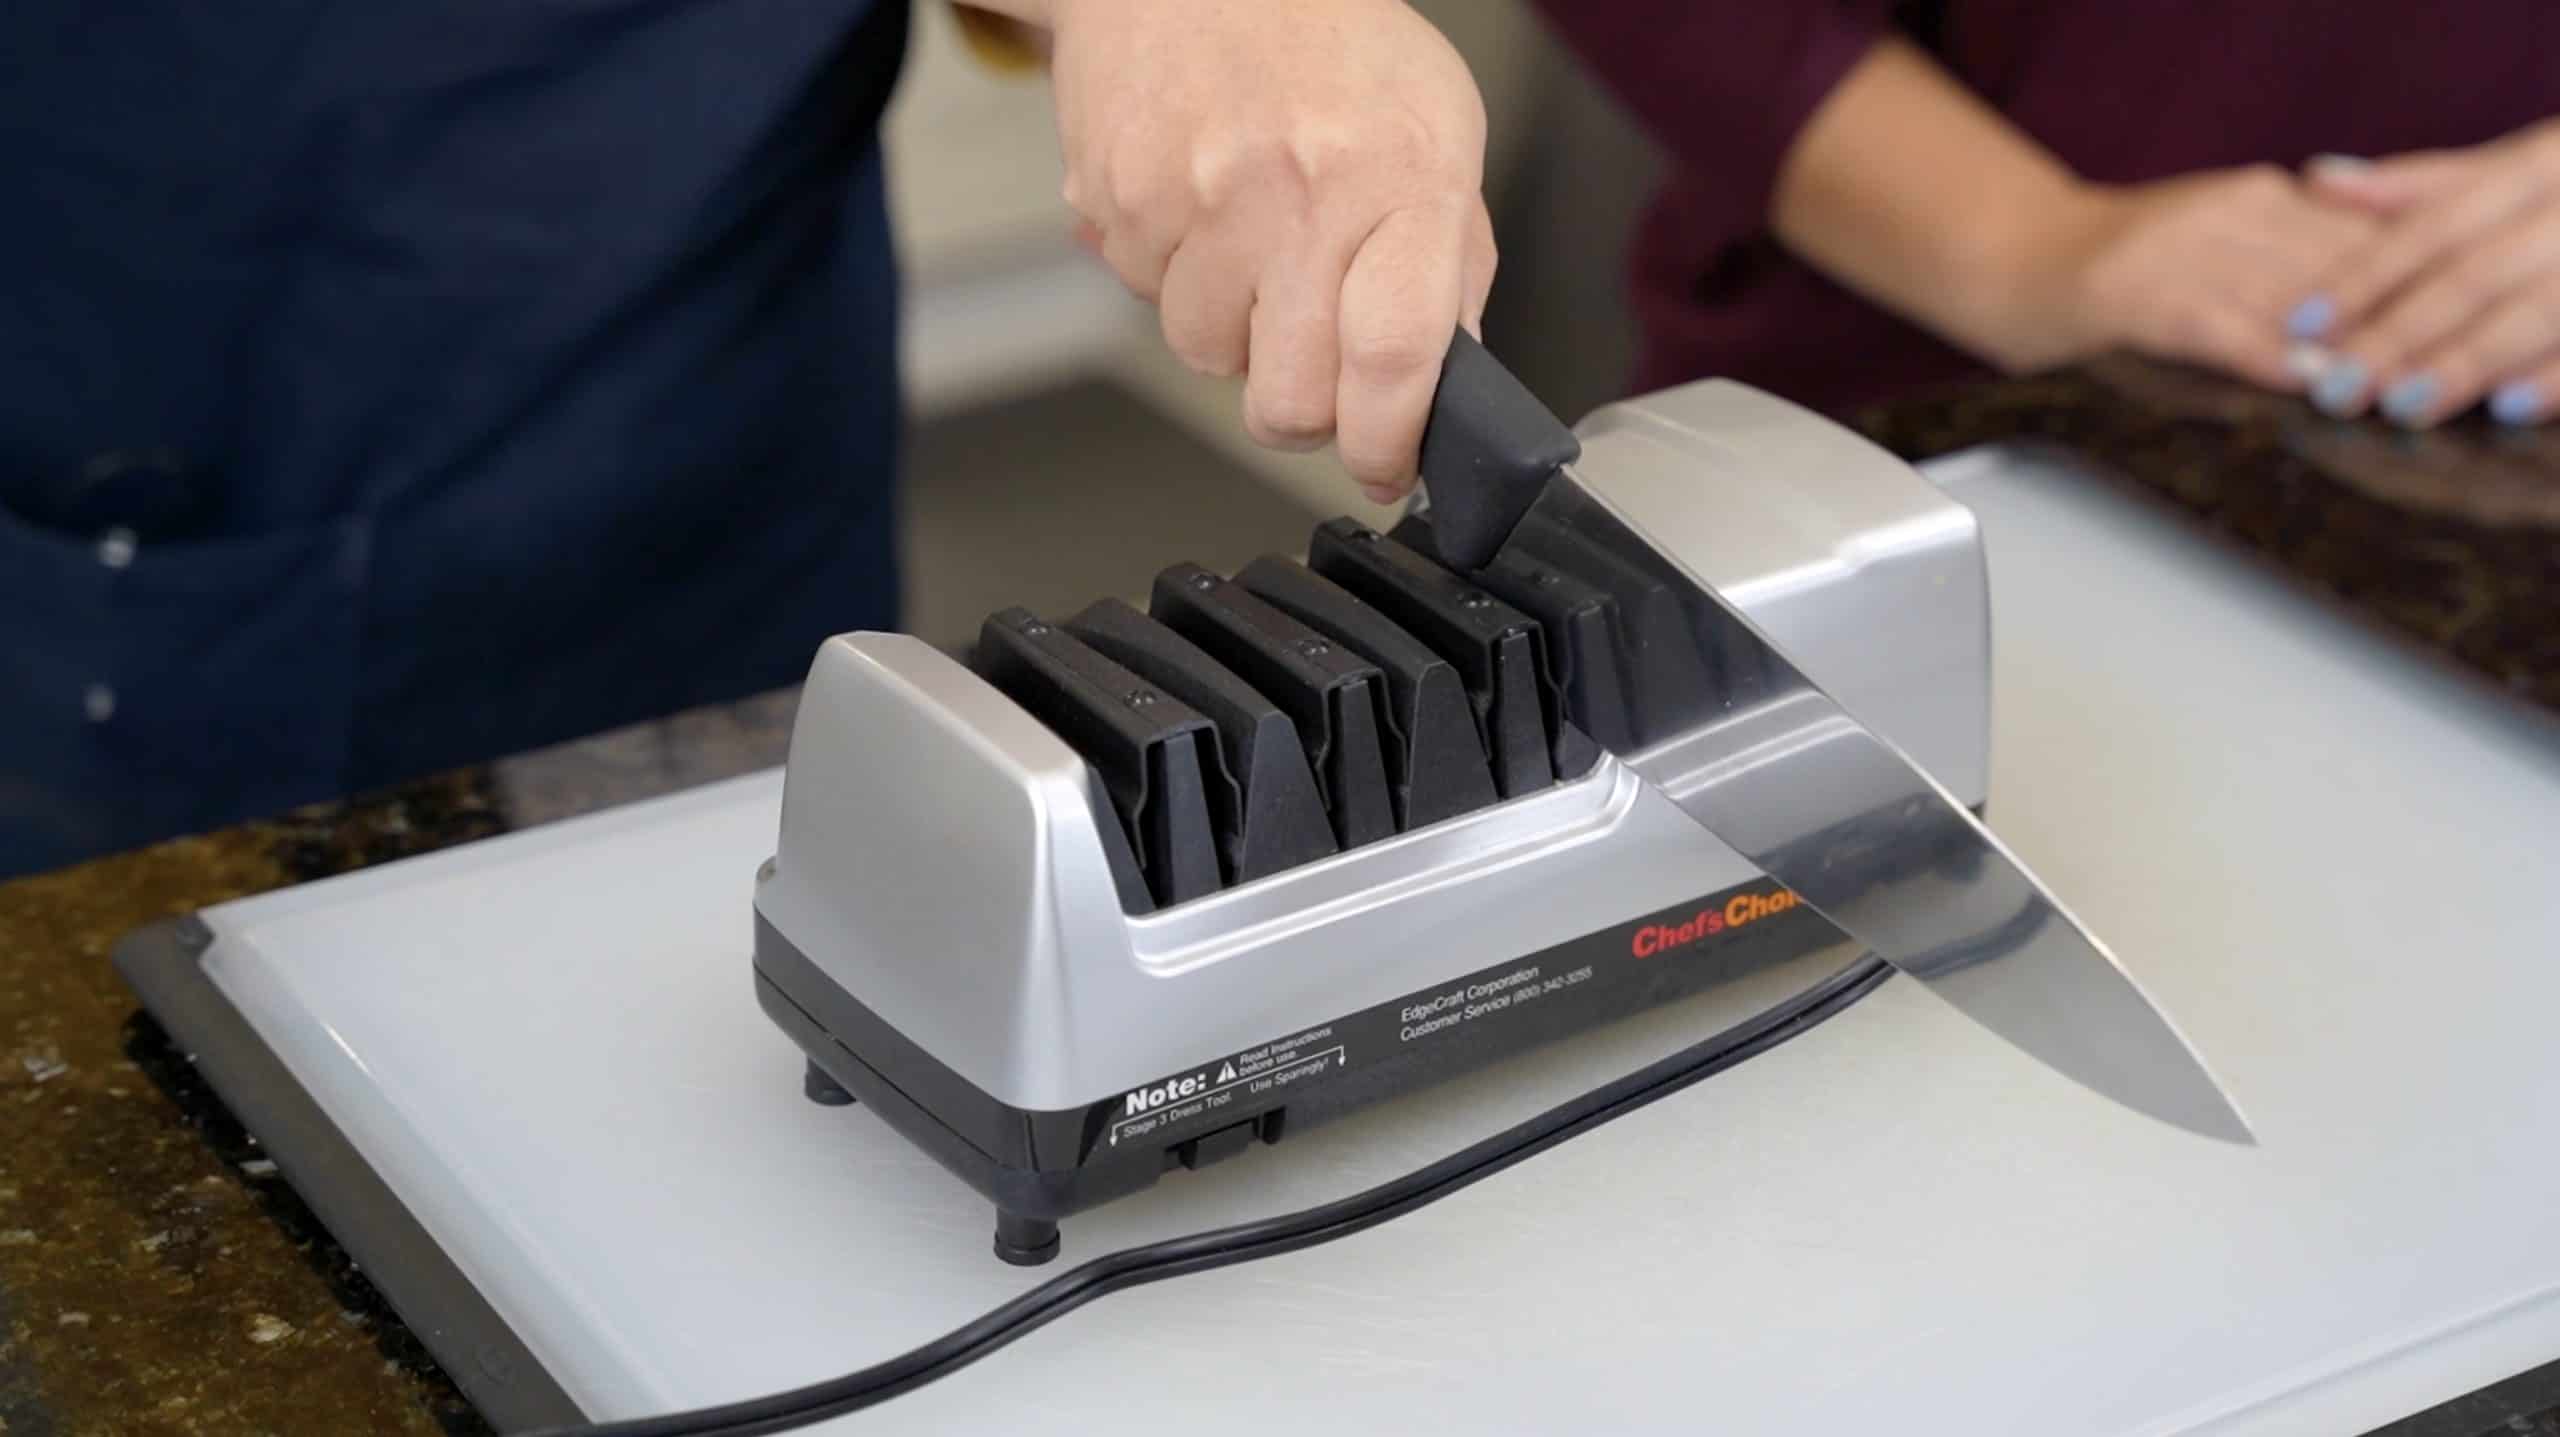
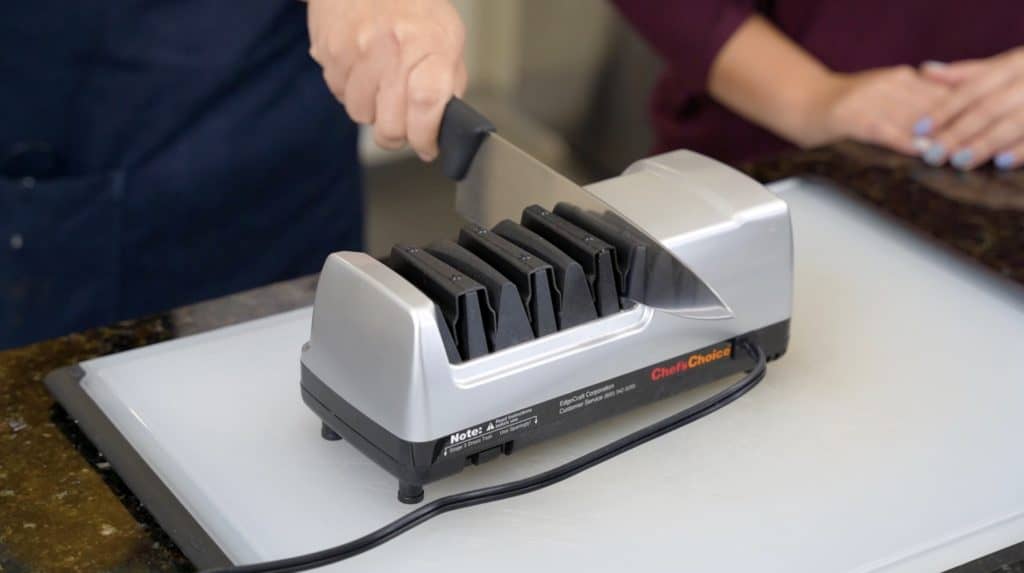
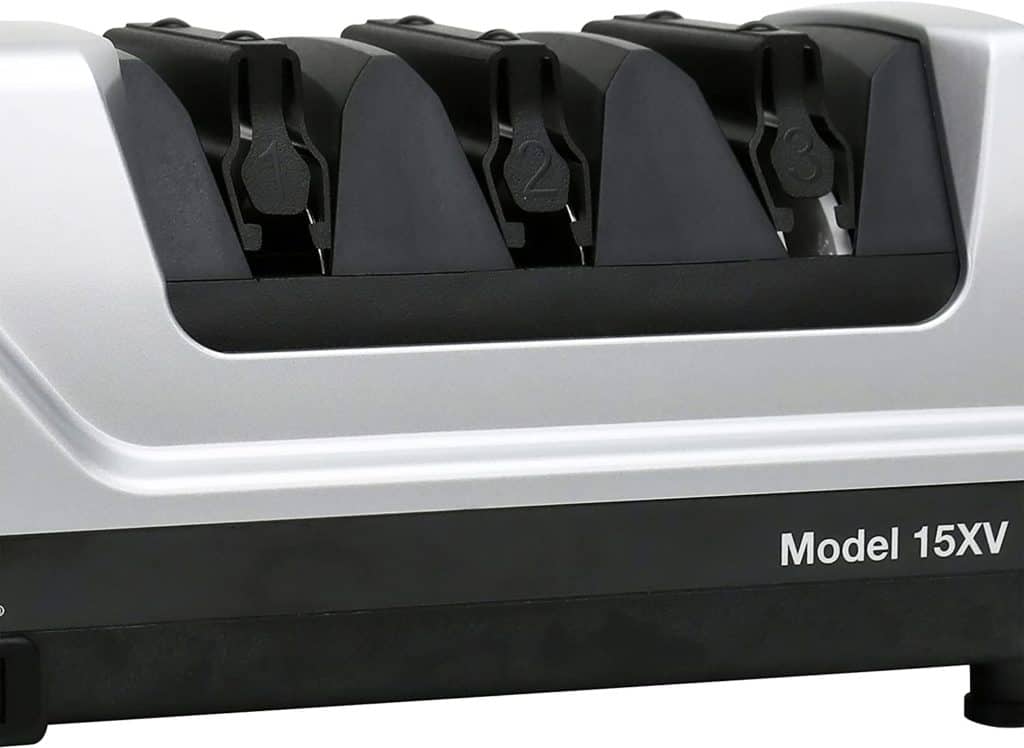
One of the reasons I like this particular electric knife sharpener is because of the 3 spring-loaded chambers. It holds your knife at a perfect 15-degree angle (the sharpest angle) on either side, so sharpening your knife becomes almost fool-proof! With other electric sharpeners, the chambers or springs can be a little wider, so there may be more room for error.
On top of that, the wheels are coated with actual diamond particles, and we know that diamonds are harder than steel, which allows it to get a good grind on the knife and take it to the razor-sharp level you desire.
All of the instructions are in the manual, but just be sure to be extra cautious when sharpening Japanese knives as most of them are sharpened on only one side. So make sure you follow the specific instructions for that. In a nutshell, you may not need to run the knife through both sides of the chambers, but you should be able to proceed as normal through all 3 stages.
You take it through the coarsest level 1 first for up to 20 passes (which actually means 20 pairs if using both the left and right chambers), then the second level goes for about 1-2 passes (pairs), while the last stage is the polishing, which goes for 3 passes (pairs) again, as well as 2 quicker one-second passes (pairs).
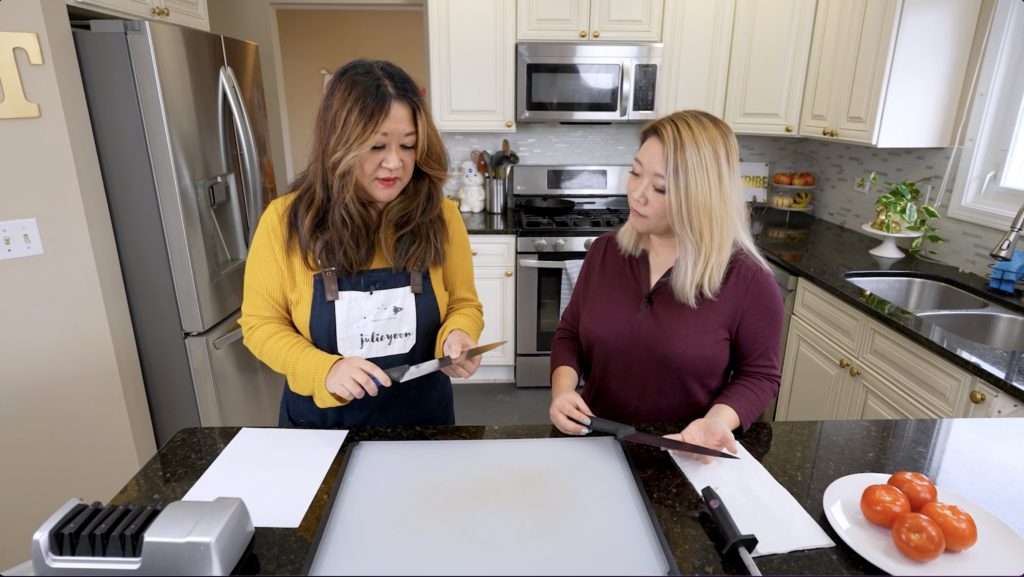
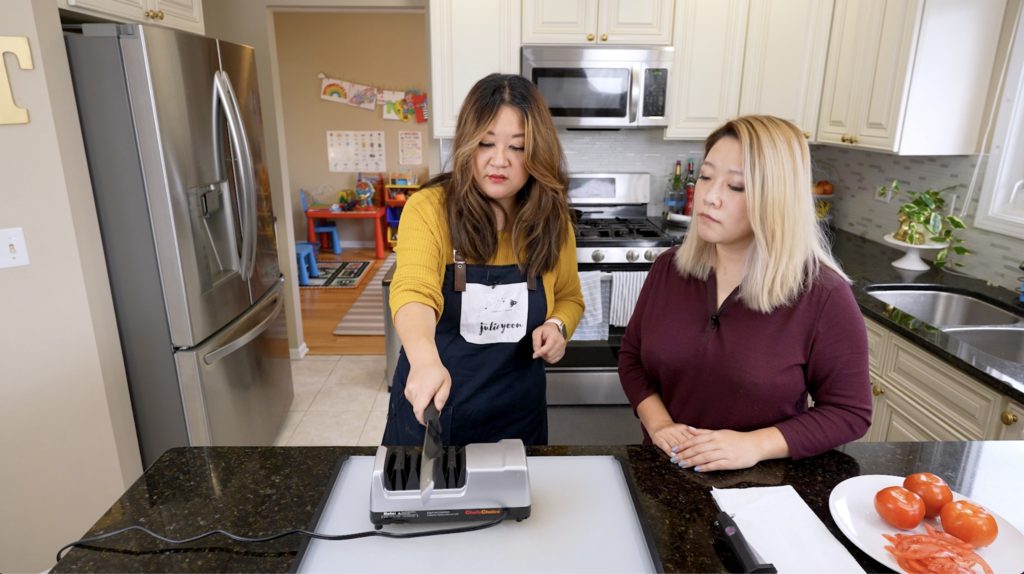
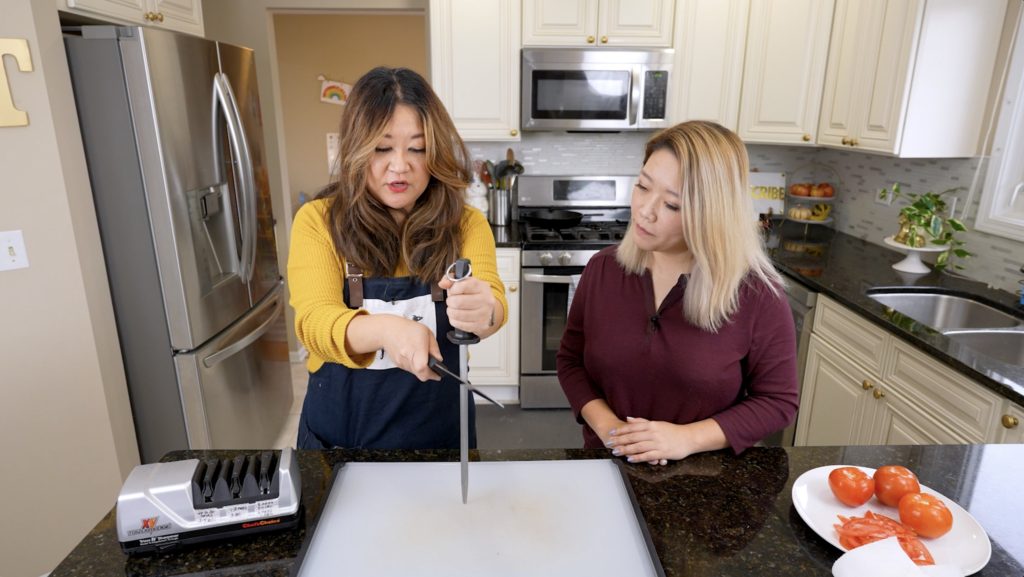
If all this is leaving you lifting your brows and scratching your head, please refer to our VIDEO where I break it all down in detail, while teaching my friend Audrey, who is a home cook learning how to sharpen her knife for the first time.
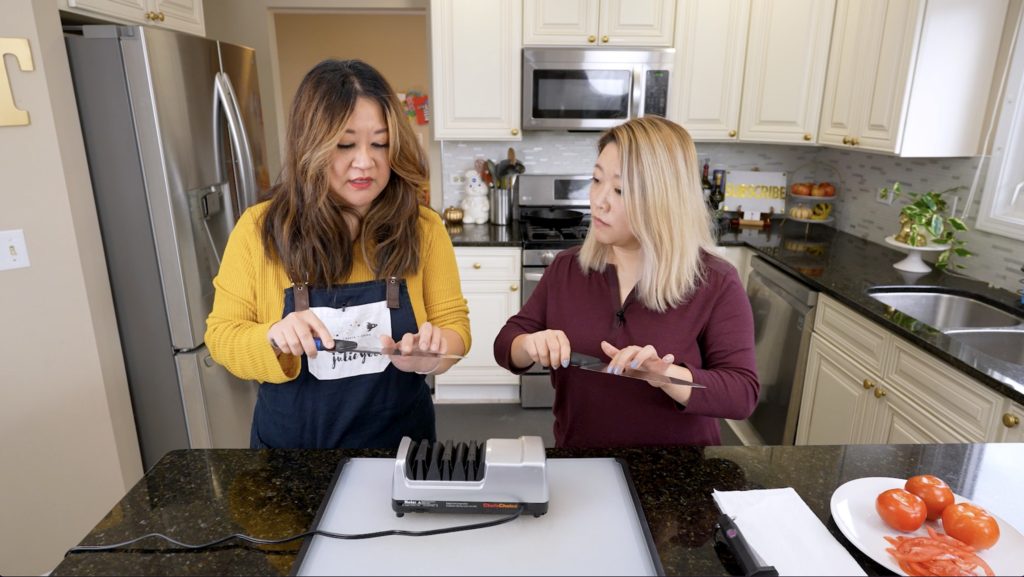
She even asks good questions and learns how to correctly check for the burr, which is what’s really important when sharpening your knife and knowing how long to do it. WATCH OUR VIDEO BELOW:
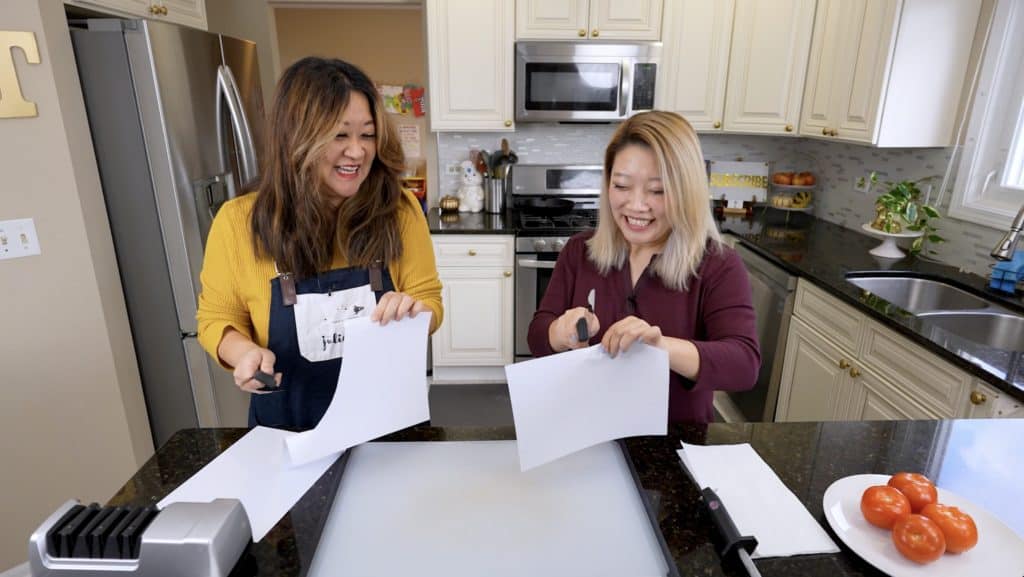
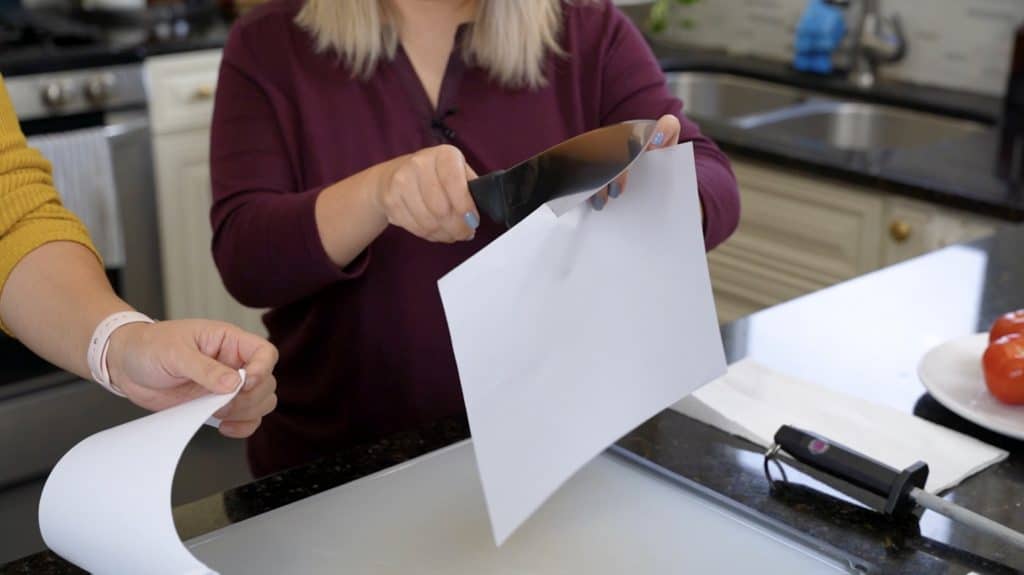
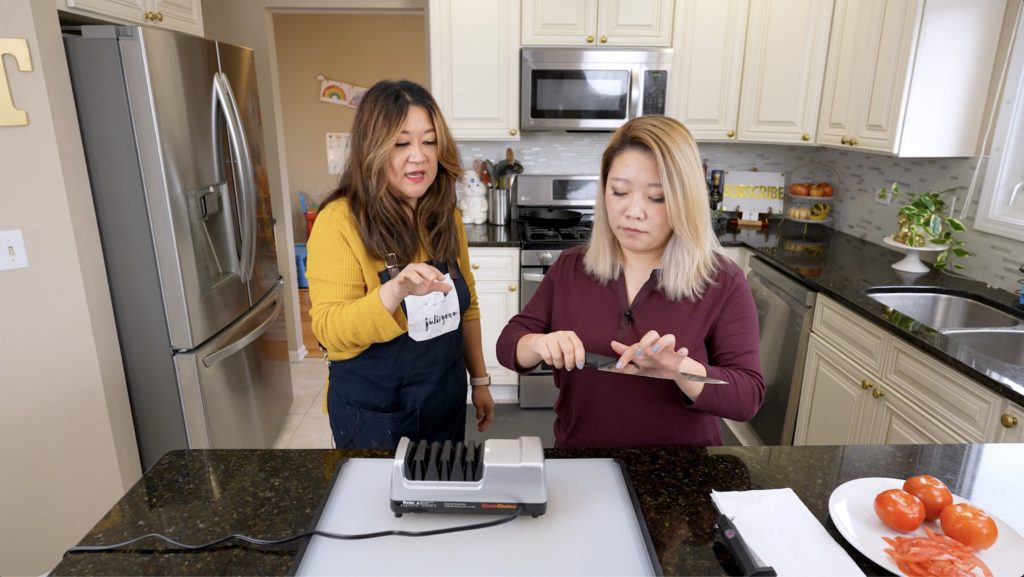
Let’s back it up a bit. So how do you even know it’s time to sharpen your knife? Two obvious way to test it is with the paper test and the tomato test.
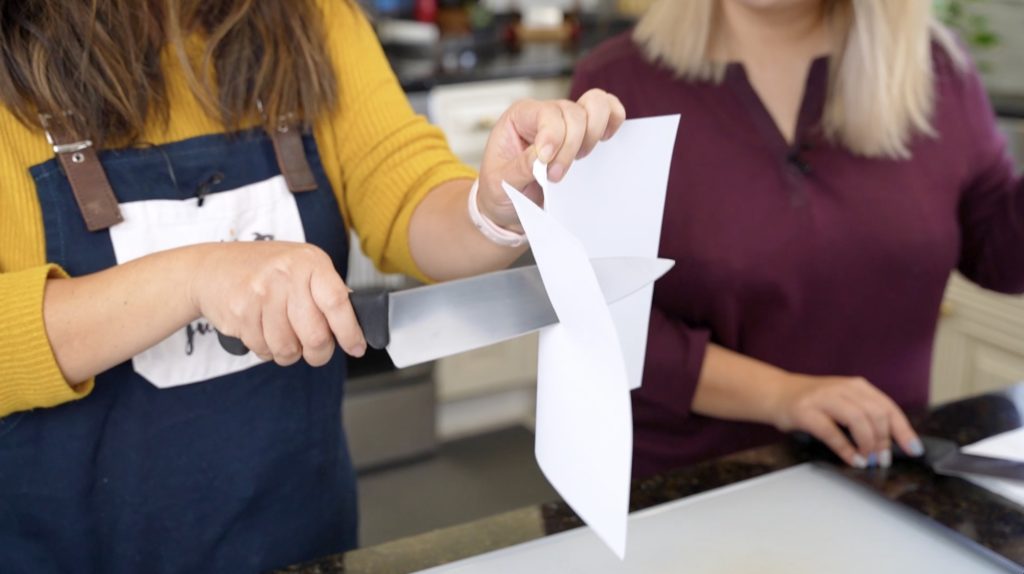
If you can slice cleanly and easily through a sheet of paper, with little to no resistance, your knife is probably still sharp enough. If you are struggling like Audrey did with hers, you know it’s time to sharpen that knife!
At one point I think her knife even bounced off the paper…haha. Eventually she was able to make a cut but she couldn’t slice all the way through it.
The tomato test is pretty self-explanatory. Can you slice through it without squishing the poor little guy and having the juices run all over your board? Does it “catch” onto the skin or does it slide through it like butter? If you don’t pass one or both tests, it’s time to bring some life back into your knife!
And while we’re talking about knives, I also recommend this Victorinox Fibrox Pro 8″ chef’s knife if you’re not sure where to start with your collection. Once again, I am not sponsored by them, but this is my trusty, affordable, and reliable real-life knife that I use almost exclusively everyday at home. It already comes factory super sharp, but like any knife, will eventually need to be sharpened again.
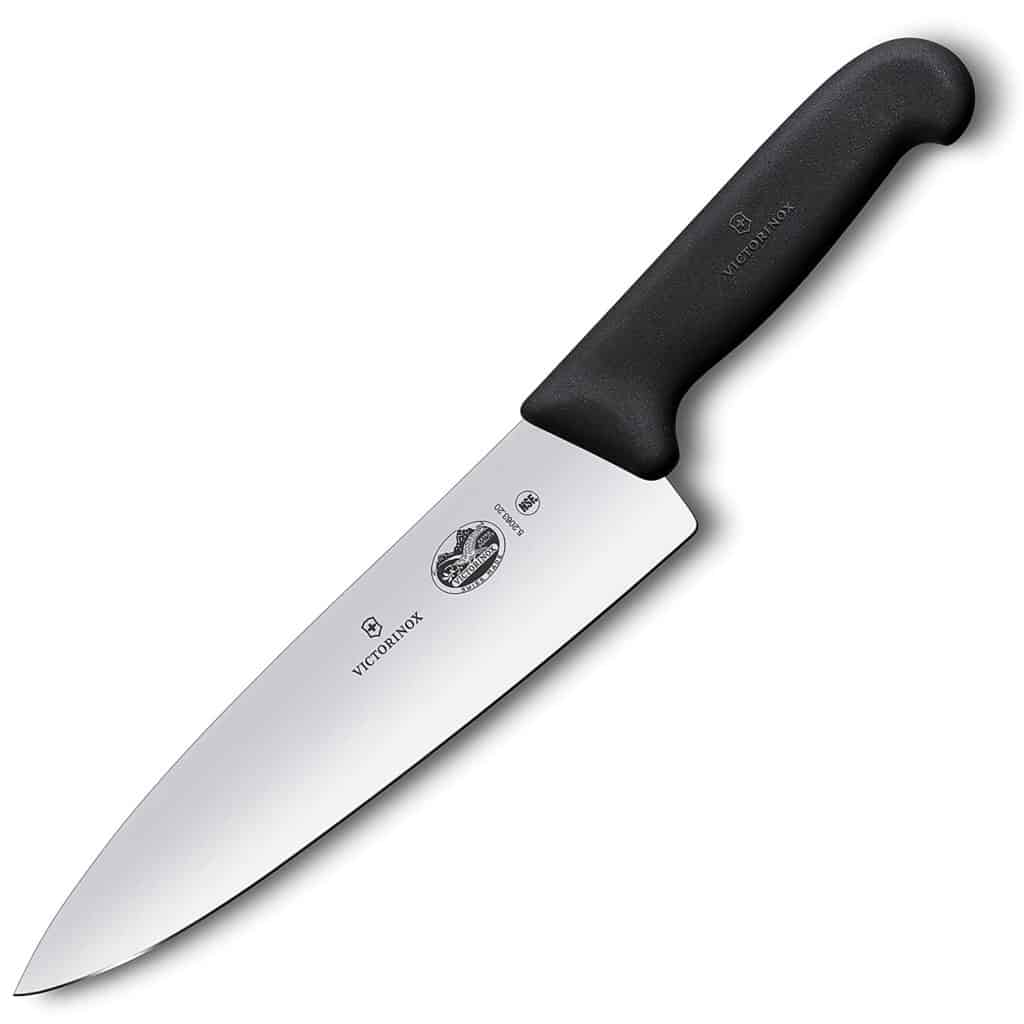
It works so well with the electric knife sharpener that I consider them to be 2 peas in a pod. I will likely recommend both of them together at all times. Audrey also bought this knife after I recommended it to her, and she tells me that she likes it because it’s lightweight and super reliable. It has also become nearly her one and only.
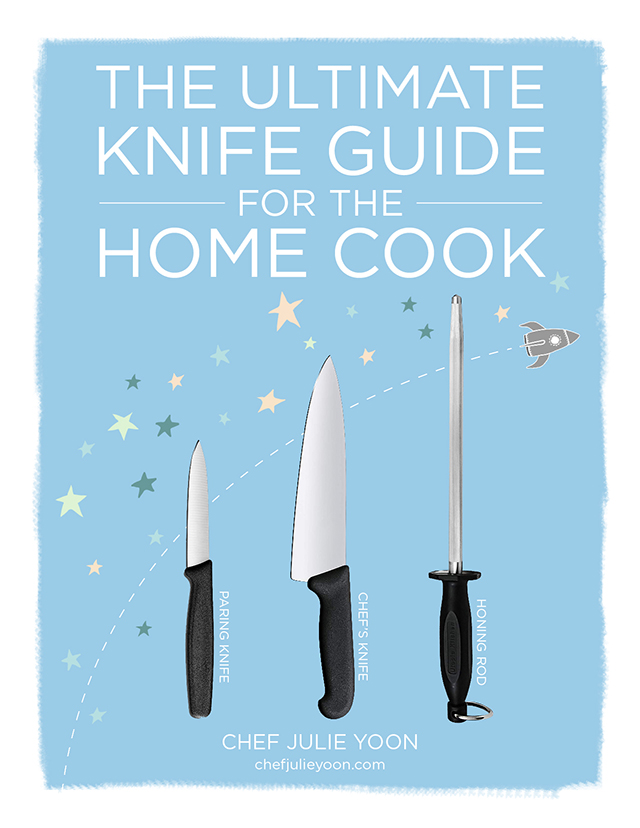
If you’re interested in any other knives I recommend for the home cook, watch this video: Best Knives for the Beginner Cook. And then sign up for our newsletter so you can get this PDF of The Ultimate Knife Guide for the Home Cook for FREE!
Lastly, PLEASE do not sleep on the honing rod, otherwise known as a sharpening steel. I know some people don’t even own one, like my friend Audrey, but it’s a truly essential kitchen tool! Sometimes it comes as part of your knife block and oftentimes, it probably sits in your drawer collecting dust.
Unlike what most people think, A honing rod does NOT sharpen your knife. However, it does help hone the burr or the edge that might turn wavy from use. Over time, you just need to straighten that edge out because it does get a little wonky. I can usually tell it’s time to hone my knife when cutting an onion becomes clunky. You’ll realize that after a good honing, sometimes you may not have to sharpen your knife at all!
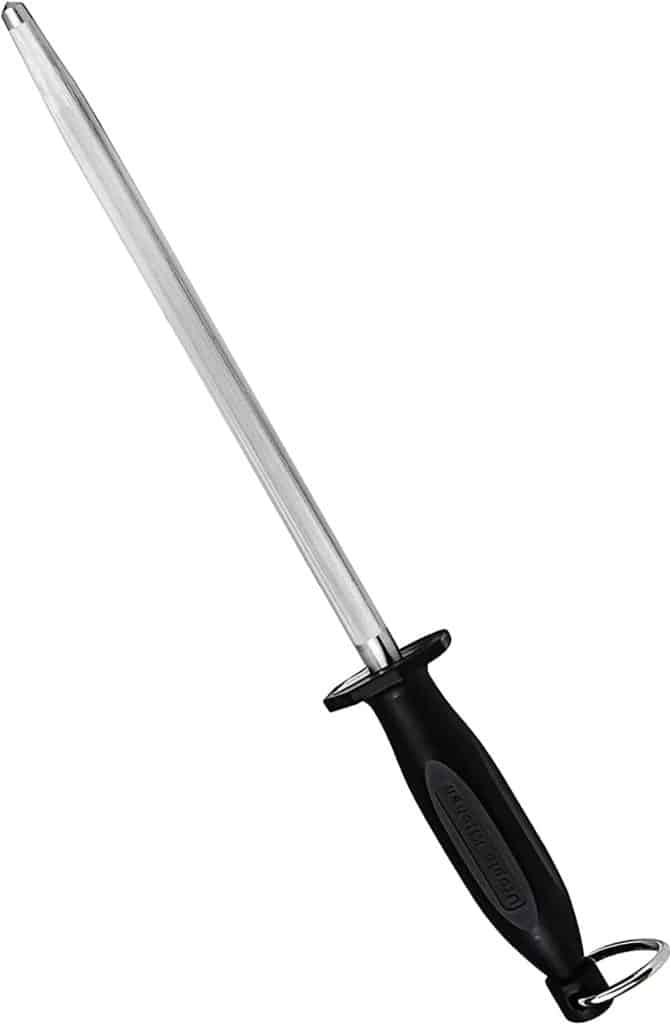
It will definitely help retain that sharp edge longer, so it’s a good idea to invest in one if it didn’t already come with your knife kit. This Utopia Kitchen 12″ inch Honing Rod (again, not sponsored) is one that I found on Amazon with great reviews. I already have one that I use from my culinary school knife kit, but I’ll probably invest in this one soon. I usually like to stick to carbon steel rods over ones made from ceramic or anything else.
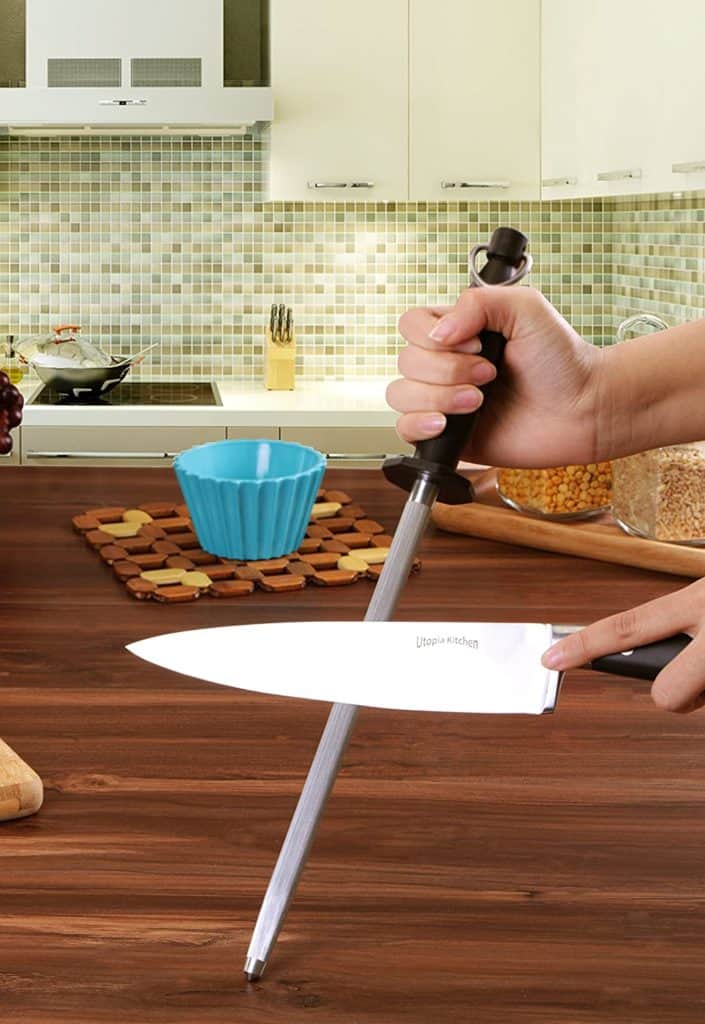
Although I must admit that this stock image from Amazon is giving me a bit of anxiety…haha! Watch my VIDEO to see how I like to use the honing rod. It’s pretty close to this picture, but not quite there.
All this to say, sharpening your knives at home can be quite easy to do. To become a more confident home cook, you need the right tools. Set yourself up for success and cooking can be freeing and fun, not a chore. For any of the tools I used in our video, you can check out our tool kit. By the way, even though this post is not sponsored, I did use affiliate links, which means I earn a small commission if you do end up purchasing any of these products mentioned at no extra cost to you. I’d be happy to answer any questions for you about these products.
A huge thanks to my talented artistic friend Audrey for filming this video with me. She is a talented water color artist, calligrapher, and instructor. If you want to check out her work, go here:
Audrey’s Website | Audrey’s YouTube | Audrey’s Skillshare

