
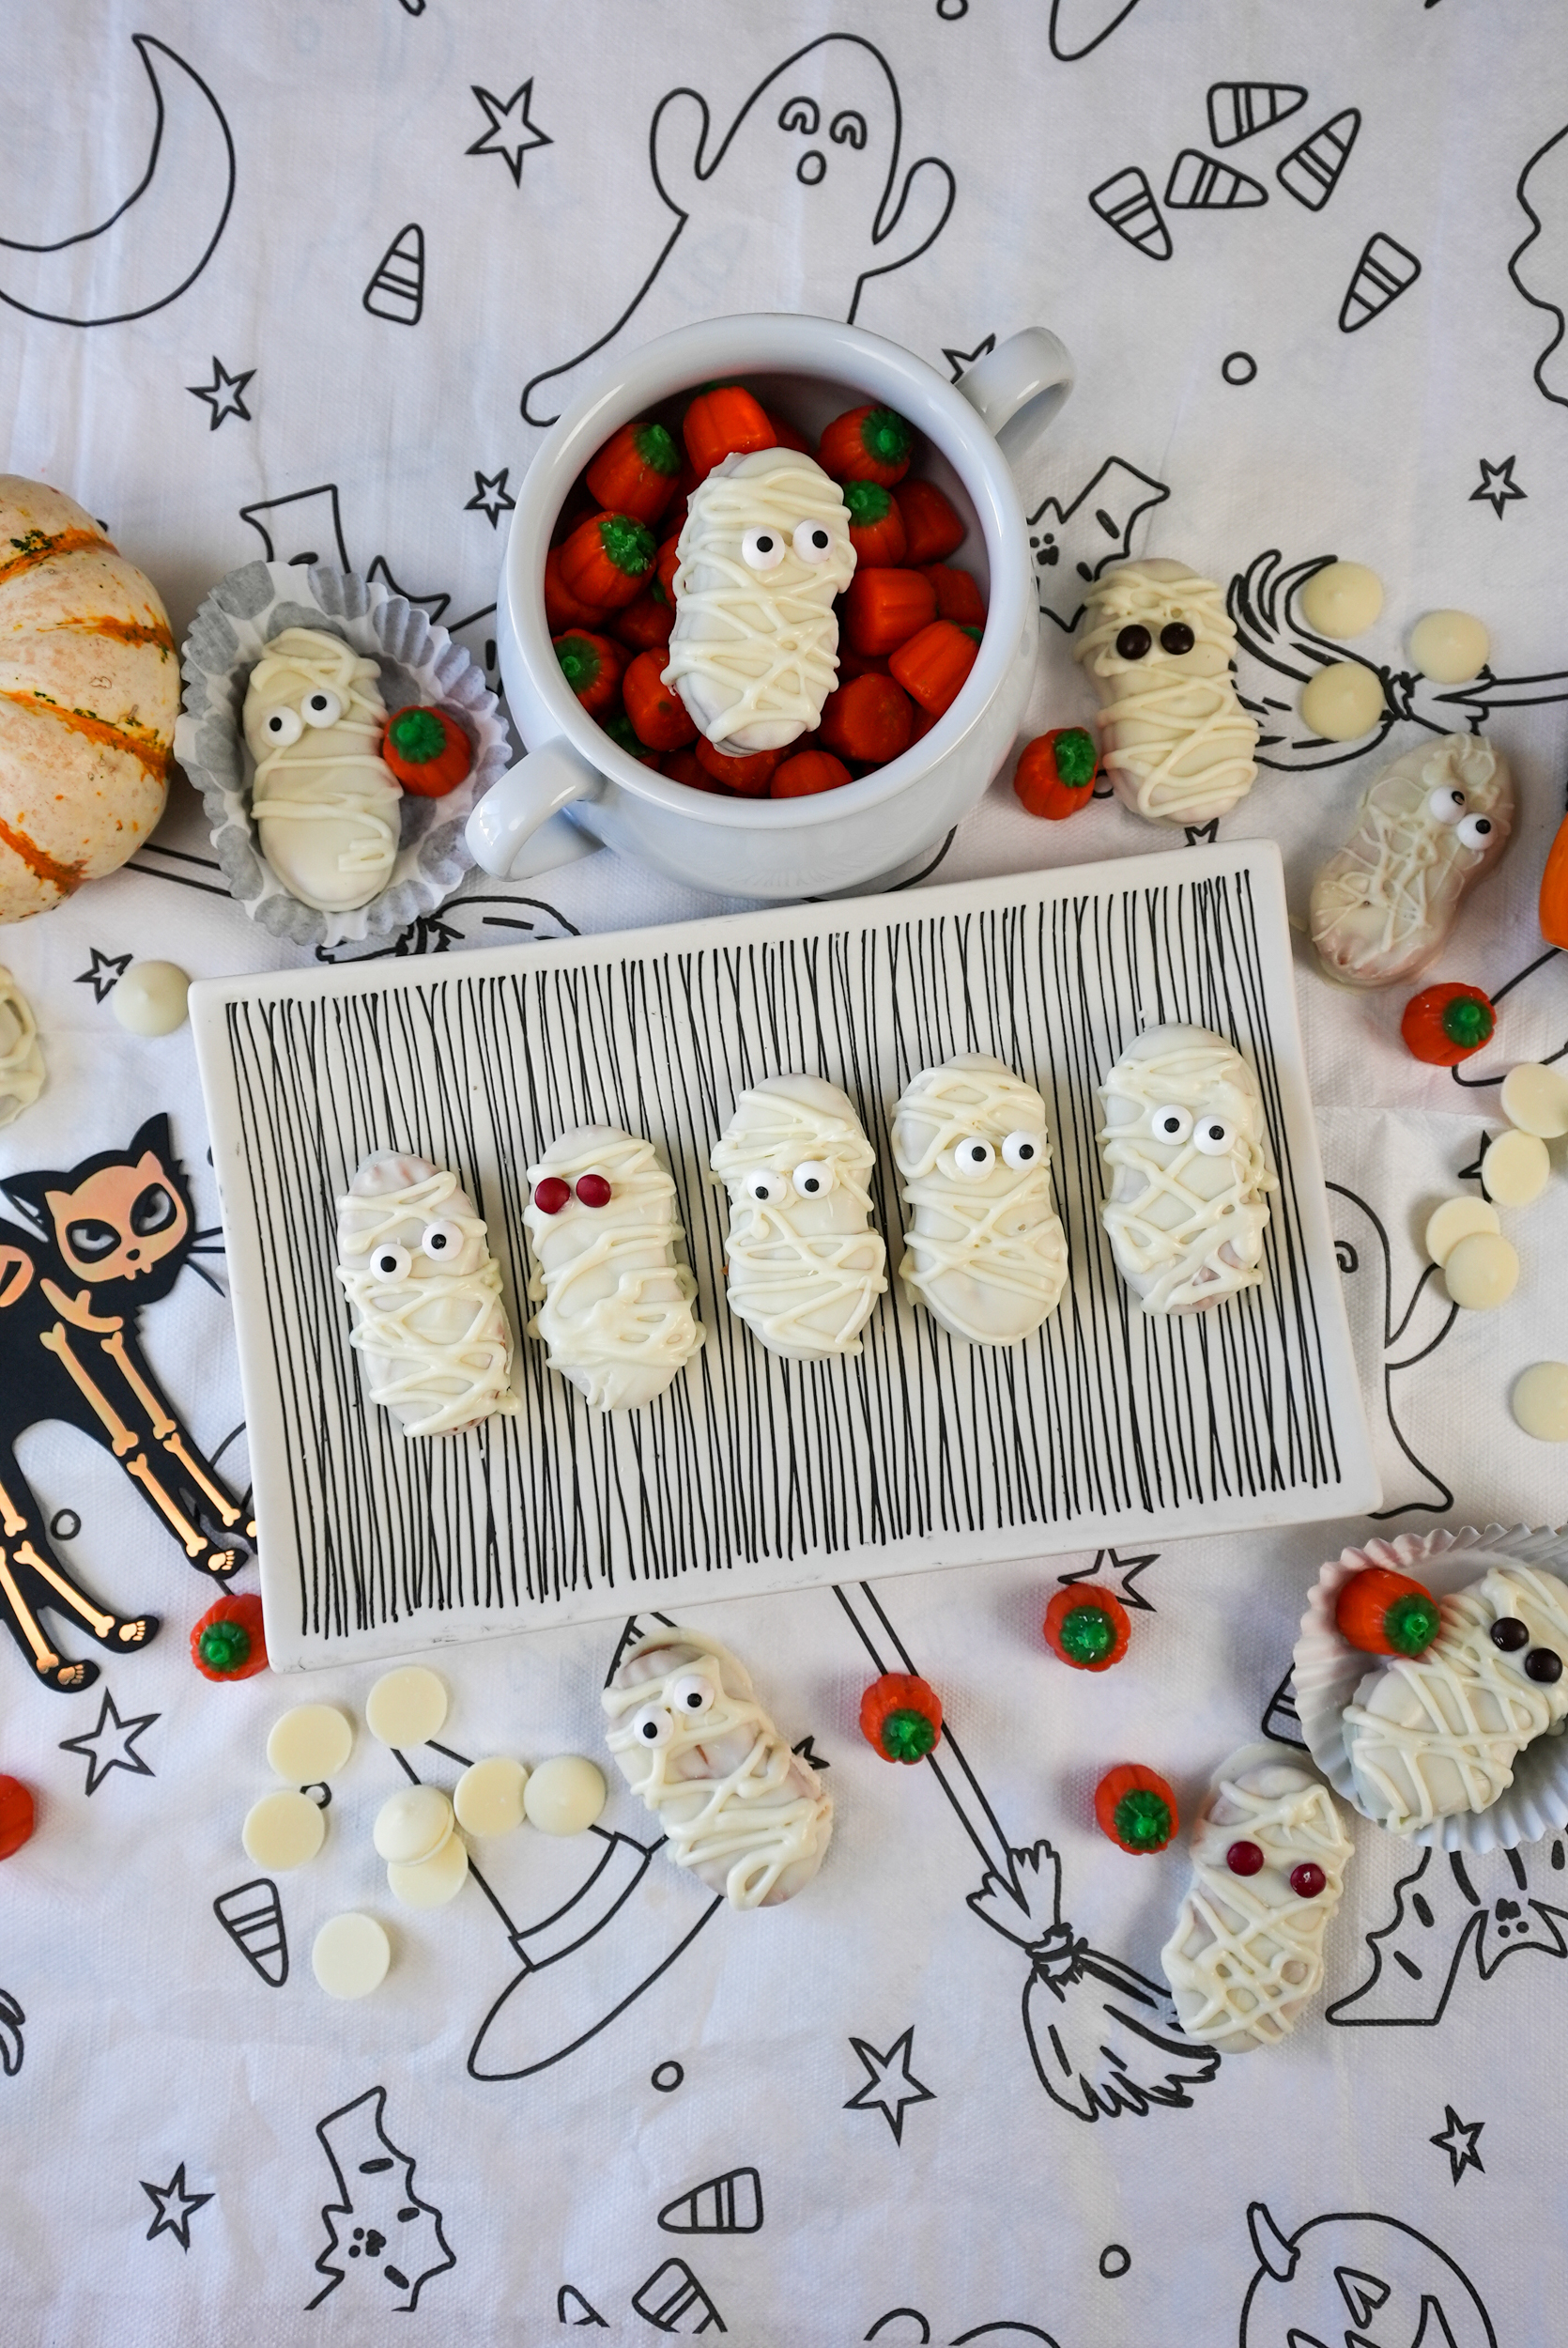
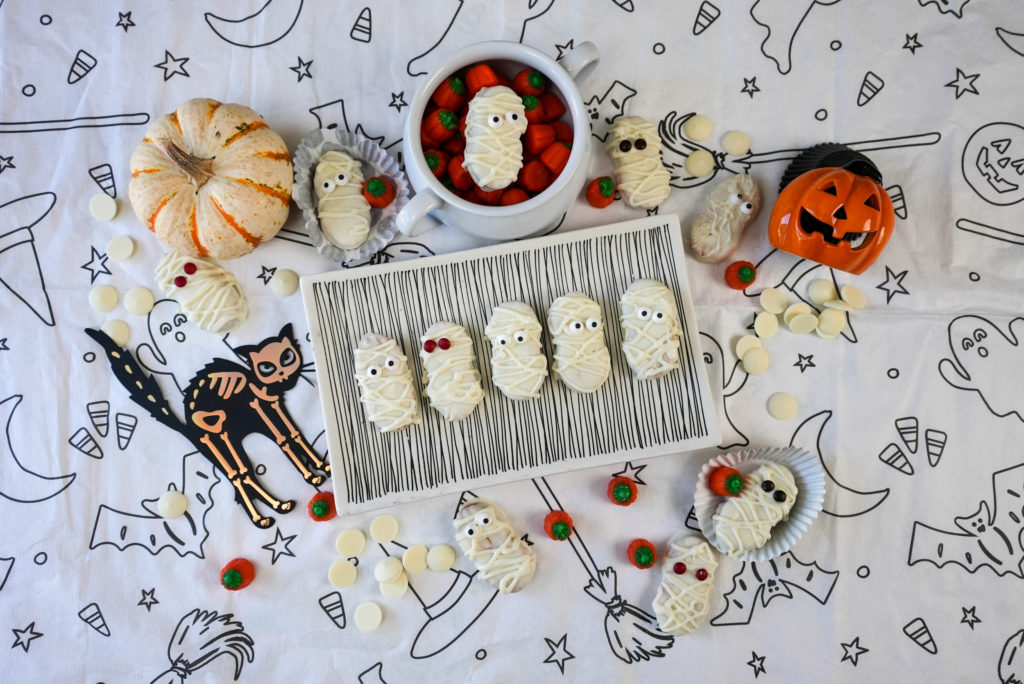
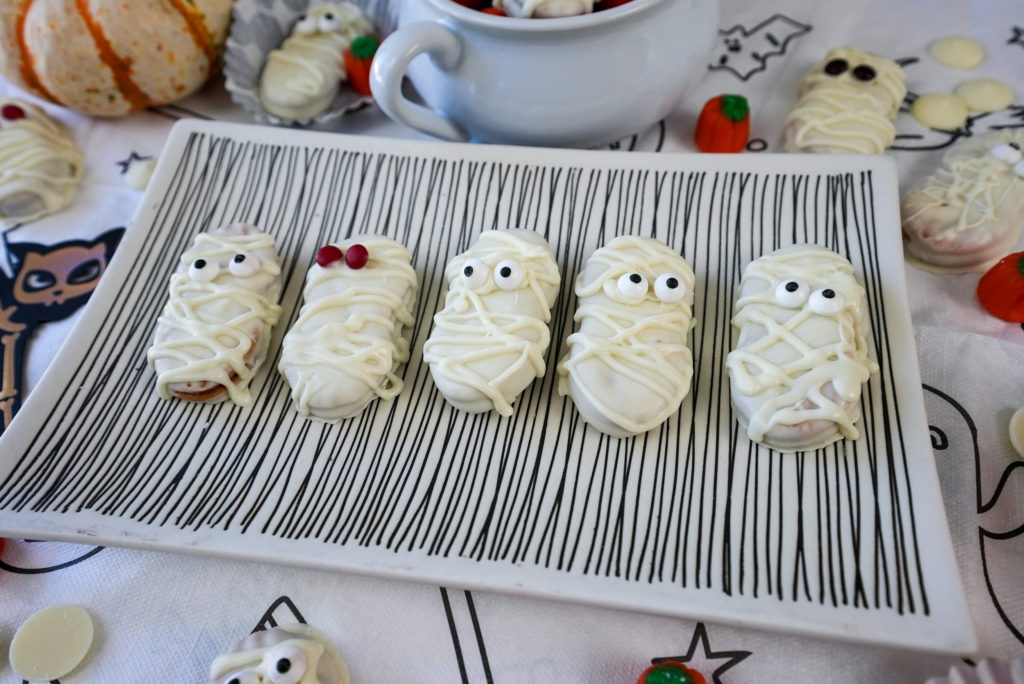
These Mummy Cookies are the easiest Halloween treat you can whip up with only 3 ingredients! Store-bought Nutter Butters are drizzled in white chocolate melts, and adorned with candy eyes.

They’re the cutest little ghouls that even a child can make…and I know this because my 4 year old made them with me! I got inspiration to make these little guys from Lil Luna Blog.
All you need is white chocolate wafer melts and a double boiler, which is just a fancy way of saying you need a bowl on top of a pot of simmering water. Sure you can use the microwave to melt the wafers, but I find that to be more of a nuisance, because you have to put the microwave at 50% power and stir constantly, and make sure it doesn’t get too stiff etc. A double boiler ensures you can keep your chocolate warm and melty at the perfect consistency for as long as you need it.

I chose to use Nutter Butters because of their fun shape and peanut butter filling, which I think complements the white chocolate nicely, but you can dip and mummify just about anything, even pretzel rods!
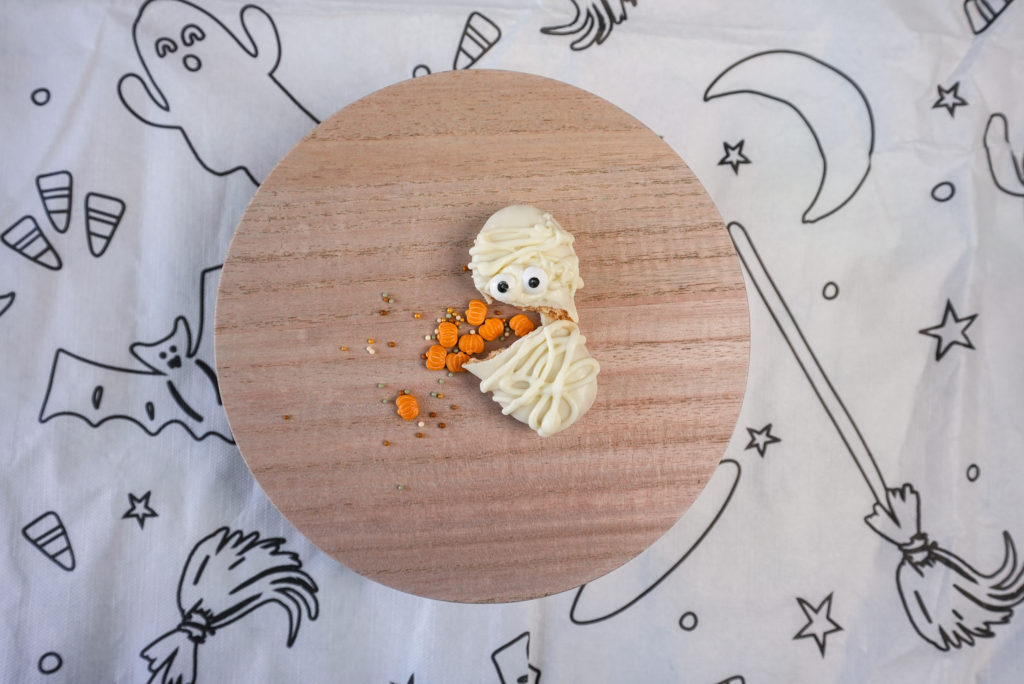
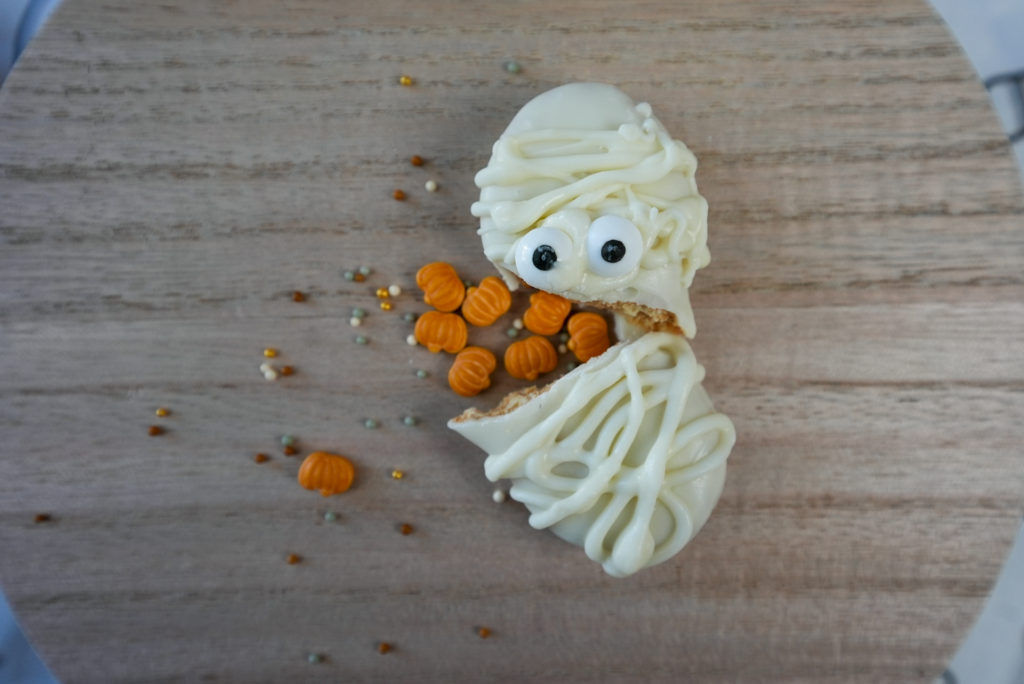
These look great on any Halloween table (for kids and adults alike), and I even had fun with the one I accidentally broke. Just add some pumpkin sprinkles if you have a sense of humor!
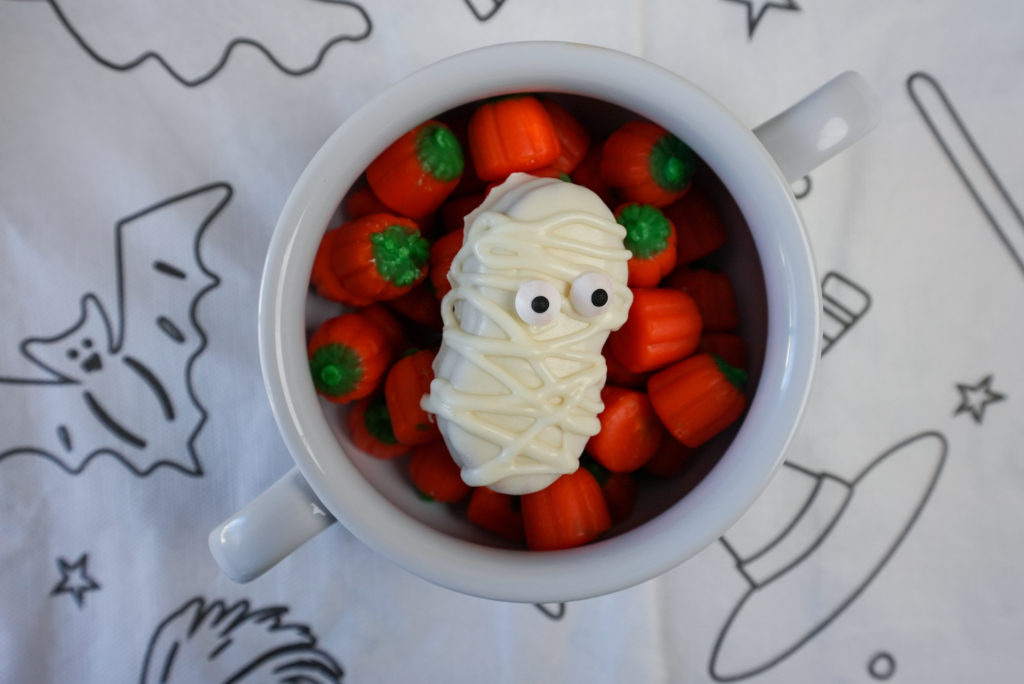
If you want to give them away as an easy party favor, place them in cupcake wrappers and plop them into plastic treat bags. You can also nestle them in a bowl of pumpkin candy or candy corn to make them pop.
This is a fun activity to do with kids even on Halloween day. They will feel so proud and accomplished. All you have to do is guide them during the melting chocolate part. But the messier these little guys are, the better!
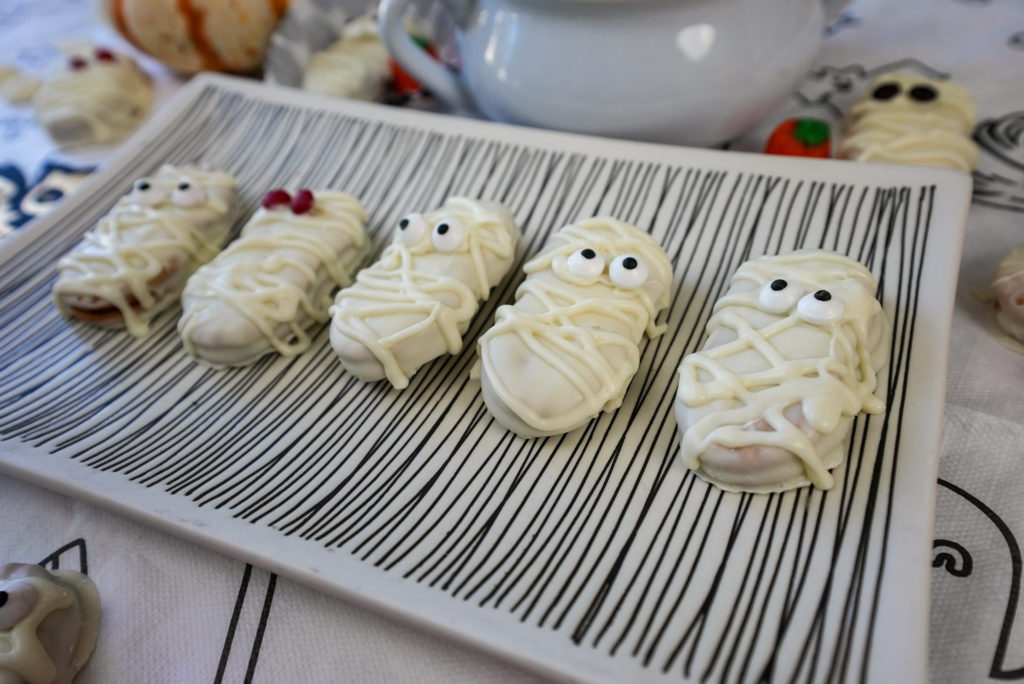
If you can’t find candy eyes, because sometimes they are hard to find, you can use Mini M&M’s. I selected the brown and red ones to make them have zombie eyes. I like the variety they provide and they honestly taste better than the candy eyes. These cookies are on the sweeter side, so one treat is probably enough. But they are kid-approved and super easy to make.
We filmed a video for this recipe, which is PART 3 of our Halloween episodes, but this one is pure entertainment because this time I had a co-star/ sous chef, our little Lincoln who completely stole the show! WATCH OUR VIDEO BELOW:
If you want more of Lincoln (when he was a little younger), you can watch us make 5-Ingredient Jam Bars together. Also, be sure to go back and watch PART 1, where I made a Squid Ink Pasta with Shrimp, and PART 2, where I make a Pumpkin-Shaped Cheese Ball. If you’d like more Halloween inspiration, check out my Raspberry Mummy Hand Pies, Cream of Broccoli Witches’ Soup with Bone Breadsticks, Halloween Cupcakes, and Halloween Dips.
To make these Mummy Cookies, I used white chocolate melting wafers like these. And for any of the tools I used in our video, you can check out our tool kit. By the way, even though this post is not sponsored, I did use affiliate links, which means I earn a small commission if you do end up purchasing any of these products mentioned at no extra cost to you. I’d be happy to answer any questions for you about these products.
How to Make Mummy Cookies (Easy Halloween Treat)
Ingredients
- 1-2 (10oz) bags white chocolate melting wafers (depending on how many cookies you will make)
- Nutter butters or any sandwich cookie of your choice
- Candy eyes or Mini M&M's (brown or red colored)
Instructions
- Create a double boiler by bringing 2 inches of water in a pot to a simmer. Place a heatproof bowl on top, making sure the bottom of the bowl doesn't hit the water. Add the melting wafers and stir until melted.
- Dunk the cookies into the melted chocolate wafers and coat on both sides. Let the excess drip off of a fork. Place on a wax paper-lined tray and cool in the fridge for about 20 minutes to allow the coating to harden. Make sure you have some melted wafers leftover for drizzling.
- Reheat remaining melted wafers and place in a piping bag or Ziplock bag folded over a tall glass to allow for easy pouring. Tie the top with a rubber band to secure it, and then snip off the tip of the bag (make sure the hole is pretty small so the lines aren't too thick). Drizzle "bandages" all over the cookies in a loose zig zag pattern and quickly place candy eyes on top before the chocolate hardens.

