Don’t get me wrong…I don’t sit around making homemade snacks from scratch for Lincoln all day while birds chirp on my shoulder. But these Homemade Wheat Thins are so rewarding to make that I simply can’t resist! When your hungry toddler (or husband) is always looking for a snack to munch on, it’s nice to have this recipe up your sleeve, as a healthier alternative to the usual bag of Goldfish.
They come together with simple ingredients, and a little love. It does require a bit of time and patience with all the rolling and cutting, but the dough itself comes together in a snap! All you need is a food processor, and some ingredients you may already have in your pantry. Give it a whirl and watch your dough practically form itself! Then you roll it out as thin as you can handle, and use a pizza cutter to make your desired shapes.

And then they spend just a few minutes in the oven before they land in your mouth. I show you exactly how I make these crispy crunchy crackers step-by-step in EPISODE 9 of Bits & Pieces Cooking Show SEASON 5. For this season, we’re focusing on easy and yummy snacks that I can actually execute while Lincoln naps. WATCH OUR NEWEST VIDEO BELOW:
Wheat Thins remind me of Joe because he actually really enjoys them! I don’t know why, but that kind of surprises and amuses me. Turns out, that was his preferred snack of choice during his college and young adult life.
So maybe that’s why I wanted to make these, because we ended up eating them by ourselves and barely left anything for Lincoln anyways.

They’re perfectly crisp, grainy, and hearty in just the right way. The subtle flavor comes out as you keep chewing, and then they become simply addicting! If you’re not a fan of working for a snack you can get from a box, I totally get it, but it’s still a fun activity to try when you have more time. If Lincoln was older, I would’ve totally made these WITH him when we were trapped at home during the Polar Vortex. So if your kids are of age, this would be a great weekend family project!
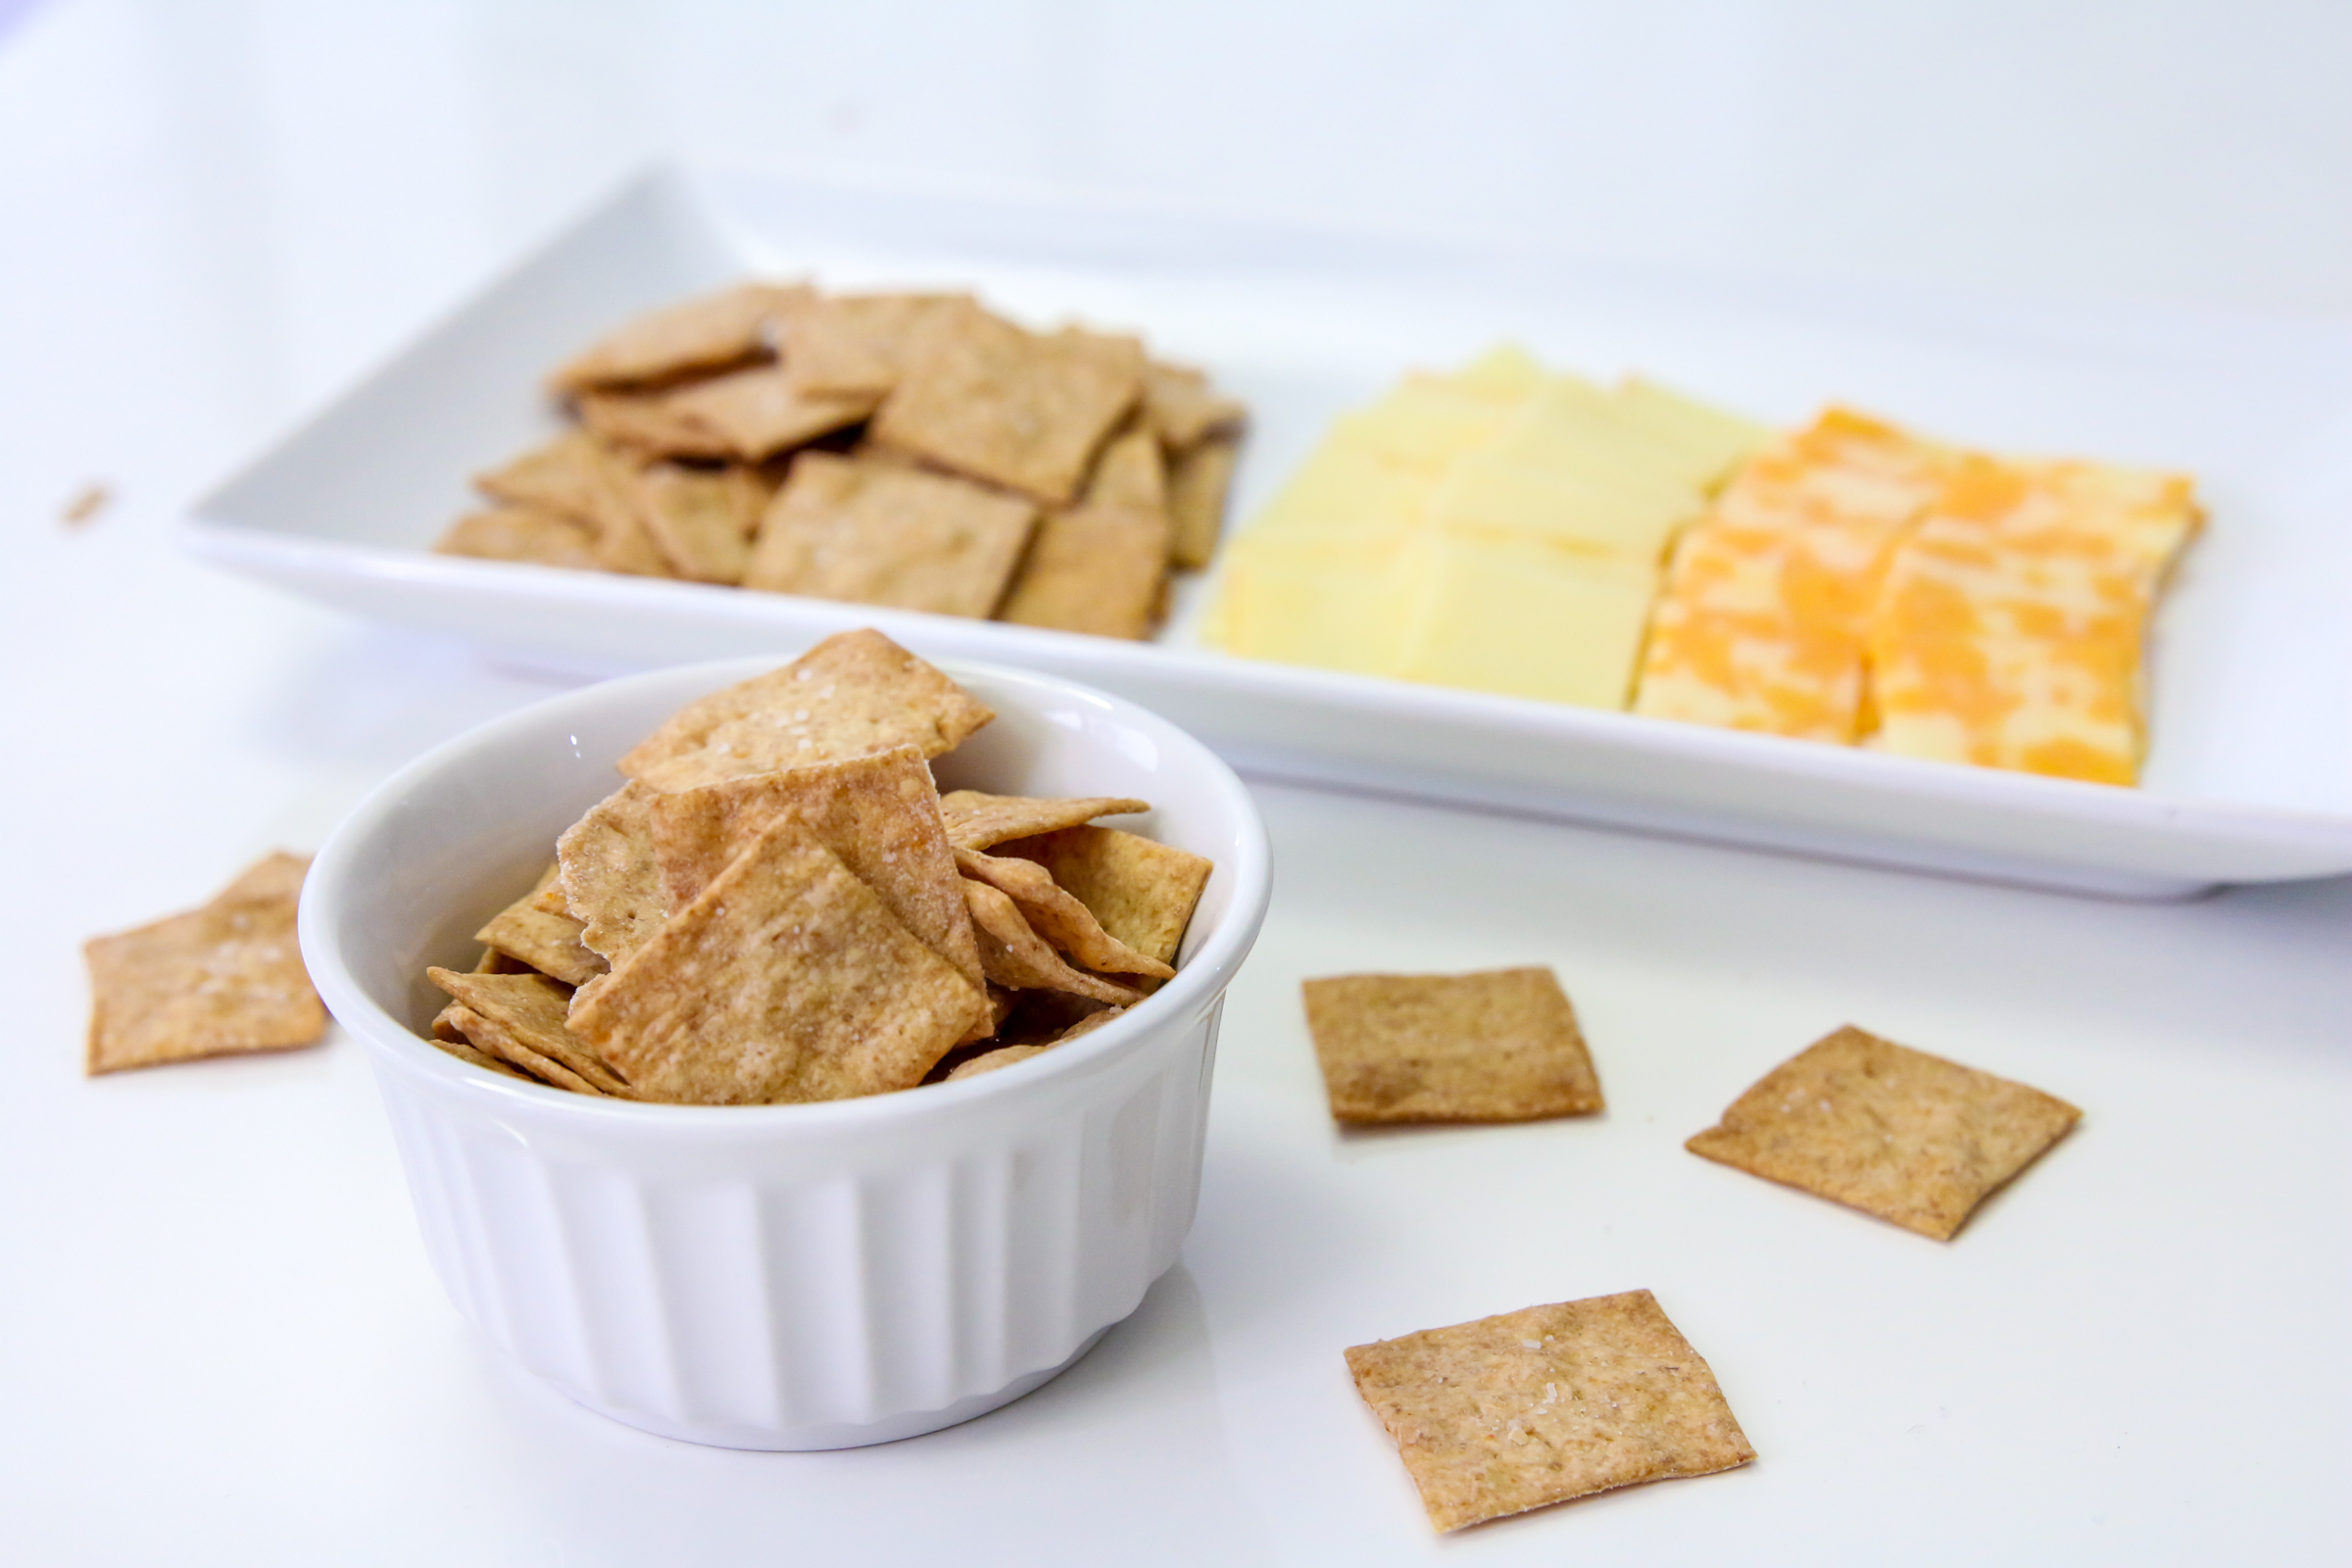
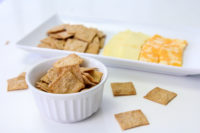
I have to say, they taste pretty identical to the real thing, except maybe more wholesome…healthy… homemade-y? Try serving them as part of your charcuterie board and add that one extra loving touch which will have your guests feeling special.

Since these Homemade Wheat Thins are both a little salty and sweet, they’re the perfect vehicle for just about anything. But Joe and I prefer eating them as is because they need nothing else. The worst part of making these is that they’re gone faster than you want them to be and you’re left wondering why you didn’t make a double batch.
Homemade Wheat Thins
Ingredients
- ¾ cup all-purpose flour
- ½ cup whole-wheat flour
- 1 ½ tablespoons sugar
- ½ teaspoon Kosher salt plus extra for sprinkling
- ¼ teaspoon paprika
- ¼ cup unsalted butter cubed
- ¼ cup plus 2 tablespoons water or more if dough is too dry
- ¼ teaspoon vanilla extract
Instructions
- Preheat the oven to 400ºF and line two baking sheets with parchment paper.
- In the bowl of a food processor, combine flours, sugar, salt, and paprika. Add cubed butter and pulse until the mixture resembles a crumbly, coarse sand.
- In a measuring cup, mix together the water and vanilla. Turn the food processor on, running on dough mode, and slowly pour the liquid mixture through the feeding tube until the flour mixture becomes a ball. If it doesn’t come together, you may need more water. Remove dough from bowl and divide dough in half. If your food processor doesn't have a dough setting, just slowly add water in intervals and pulse until dough comes together. Then knead a few times with your hands.
- On a lightly floured surface, roll out one half of the dough evenly to 1/16-inch thick. The thinner it is, the better the consistency.
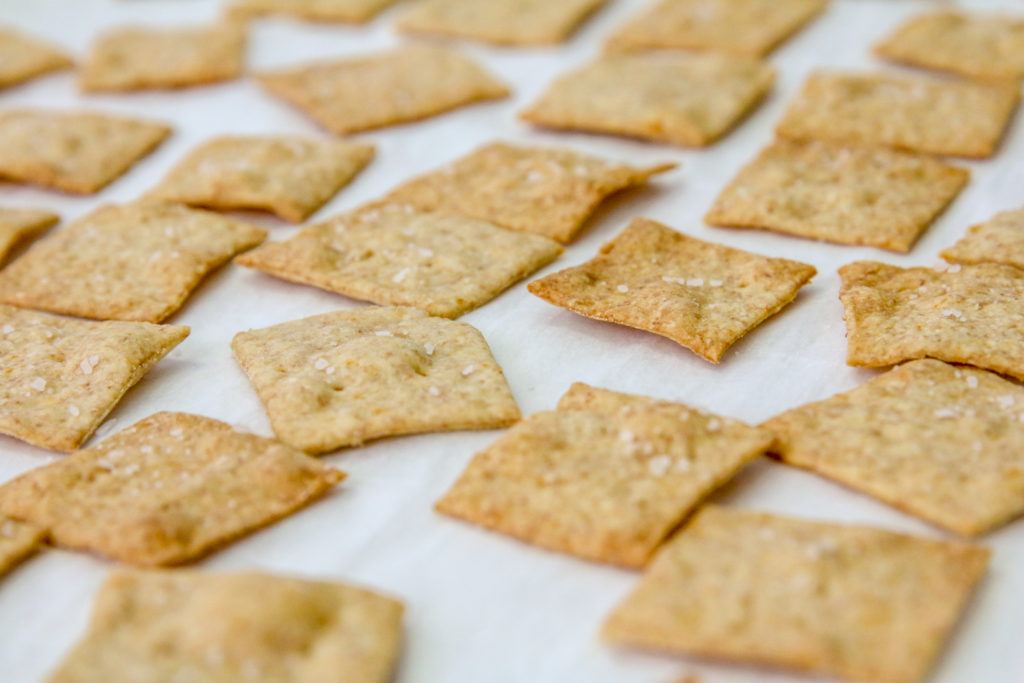
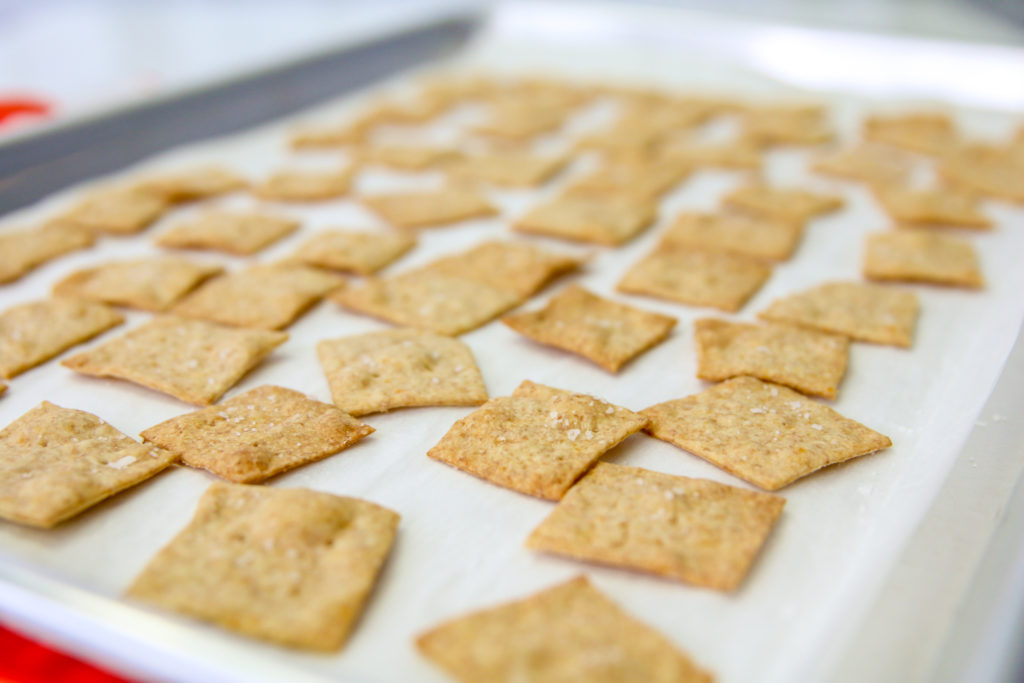
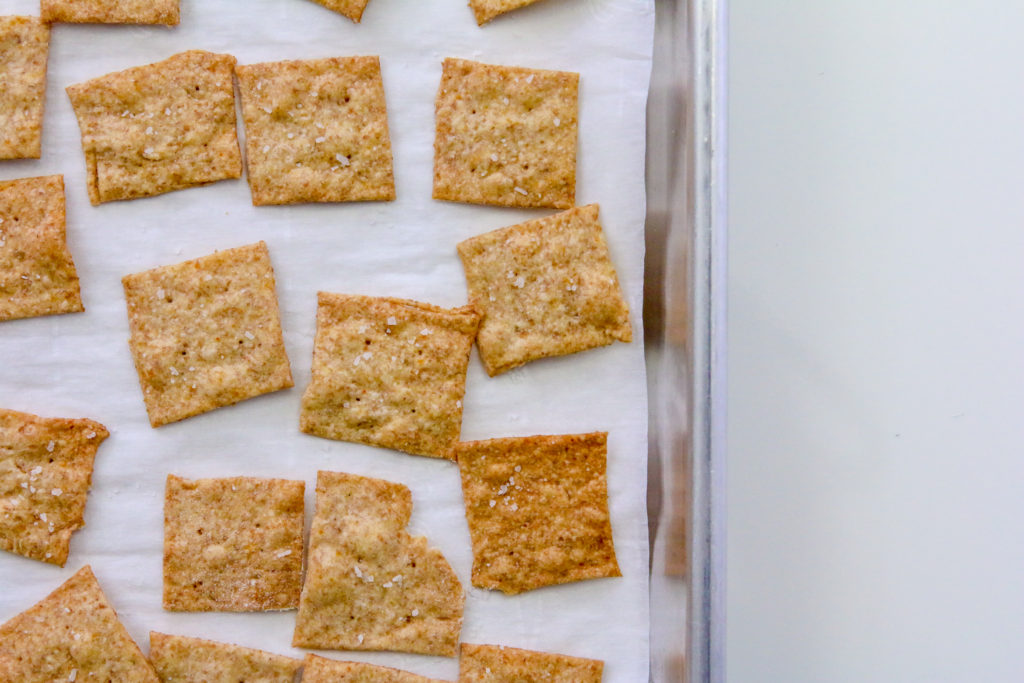
- Using a pizza cutter and a ruler, knife, or cookie cutters, cut into whatever shape you desire. I chose to do 1.5” squares. Use a spatula to place the crackers on the prepared baking sheet. Dock the crackers by poking a few holes in them with a toothpick, I chose to do 4 holes. Repeat with the remaining dough.
- Sprinkle pieces lightly with salt and bake for 8 to 10 minutes, watching closely, as these crackers can burn quickly, especially the thinner pieces. Remove the ones that are crisp and continue to bake the ones that need more time if necessary.
- Cool completely. Store in an airtight container for up to 5 days.
TIP: You can freeze one half of the dough, wrapped tightly in plastic wrap and inside a Ziplock bag, for up to 1 month.
RECOMMENDED TOOLS:
Cuisinart Food Processor (with dough setting):
Rimmed Baking Sheets: