
All week long, I debated whether or not I should try to scrounge up and post a recipe or two in time for Easter. I was thinking of doing something with ham, or even lamb. But then I realized there would be no point because it’s not like I’m planning on cooking anything special like that for Easter this year. It’s just the two of us, so dinner will be simple, like any other ordinary dinner. Then I thought about dyeing eggs and having pretty pictures to show you. But then I realized I don’t have kids right now and I wouldn’t normally dye eggs just for my own enjoyment.
So with no big family dinner to celebrate and no inspiration, I came to the conclusion, with much disappointment, that I wouldn’t post anything… until I remembered that Easter isn’t about hams, lambs, or eggs, but it’s all about Jesus Christ and how He is risen! So with that in mind, I decided to tackle some home made single rise bread. Why single rise? Because Jesus took my place, defeated death, and paid for my sins forever, with just one rise.
If you think I’m stretching it with this whole symbolism here, yeah, okay maybe I am… but check it…I can stretch it further. In the Bible, Jesus says, “I am the bread of life. He who comes to me will never go hungry, and he who believes in me will never be thirsty.” For me, that means He’s my sustenance and source of strength every day. Knowing that He’s my Savior and that I am always deeply loved no matter what, means that I can make it through all the difficult hardships in life.
So there…see? I HAD to bake bread. It was so obvious! I can tell you’re still not buying it. So let’s just move on. To be honest, baking bread is not at the top of my list of how I’d like to spend my time. I ended up having to wash a lot of bowls and utensils, and there was flour everywhere. Normally, if I want delicious baked bread, I’d much rather go to a bakery and buy some. But by the time everything was said and done, there was something so honestly satisfying about biting into a piece of warm bread that I made from scratch, with stuff from my pantry, patience and a little endurance.
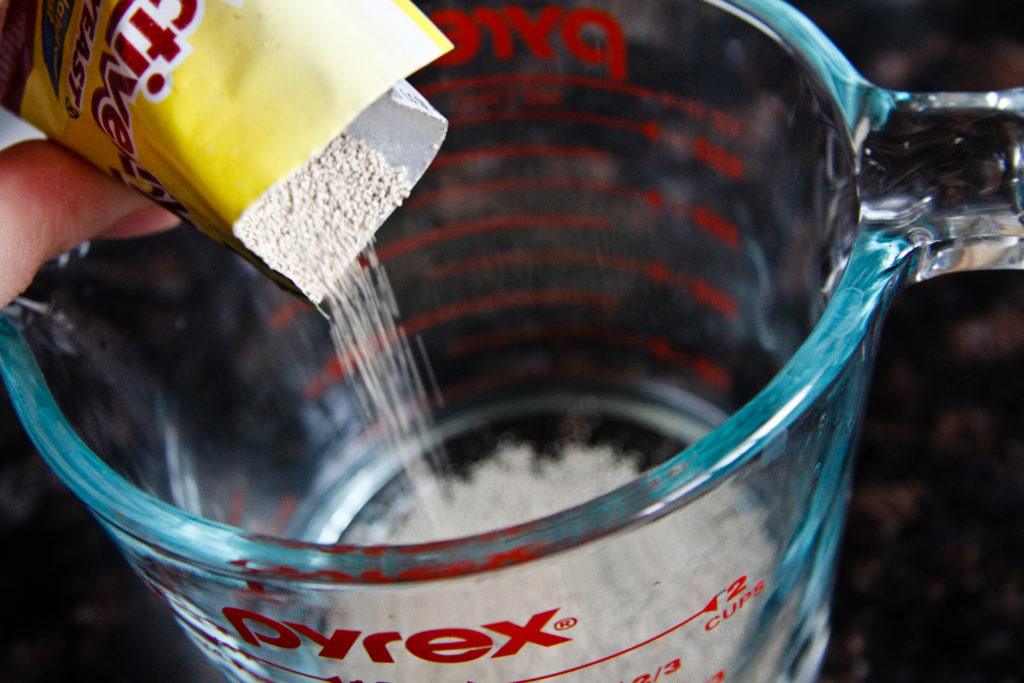
Add the yeast to some lukewarm water and feed it some sugar. Come here and give me some sugar!
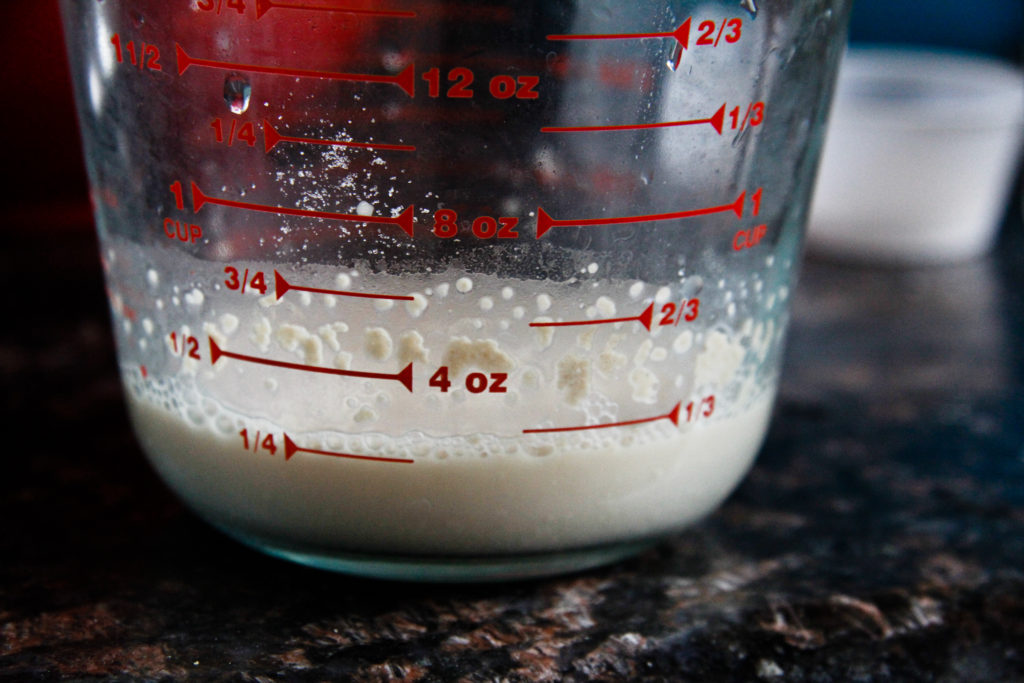
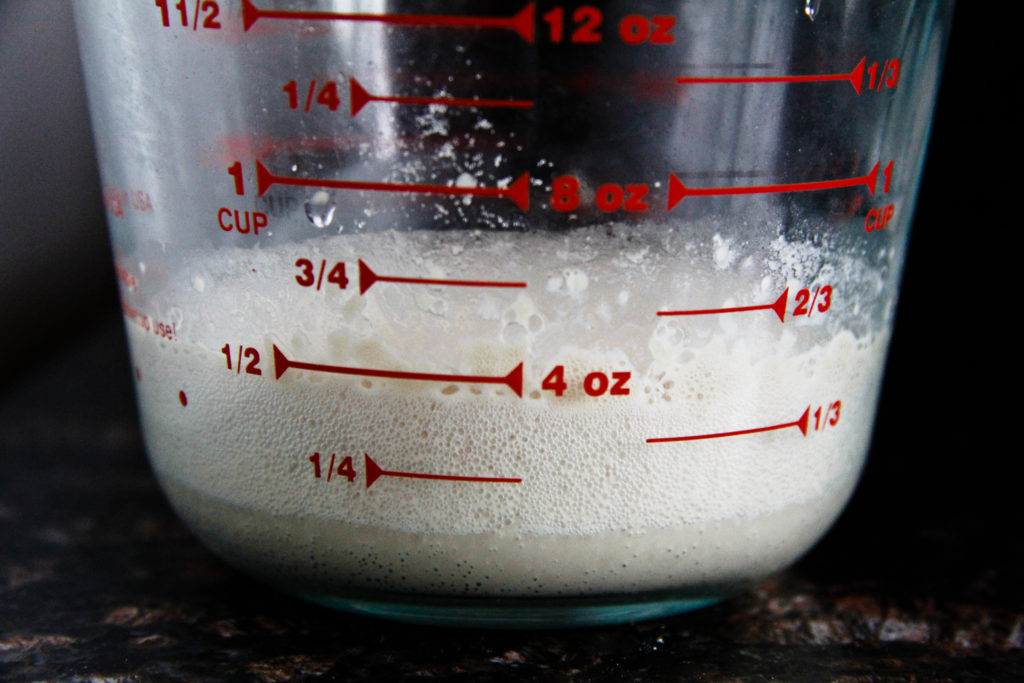
The yeast turns frothy and doubles in size. That’s how your know it’s alive and kickin.’
You don’t need a bread machine, but you might need a Kitchenaid. However, if you don’t have one, just use an electric hand mixer, or a trusty old bowl, a wooden spoon and your God-given guns.

Mix in your wheat and all purpose flours, more lukewarm water, a little honey, and salt.
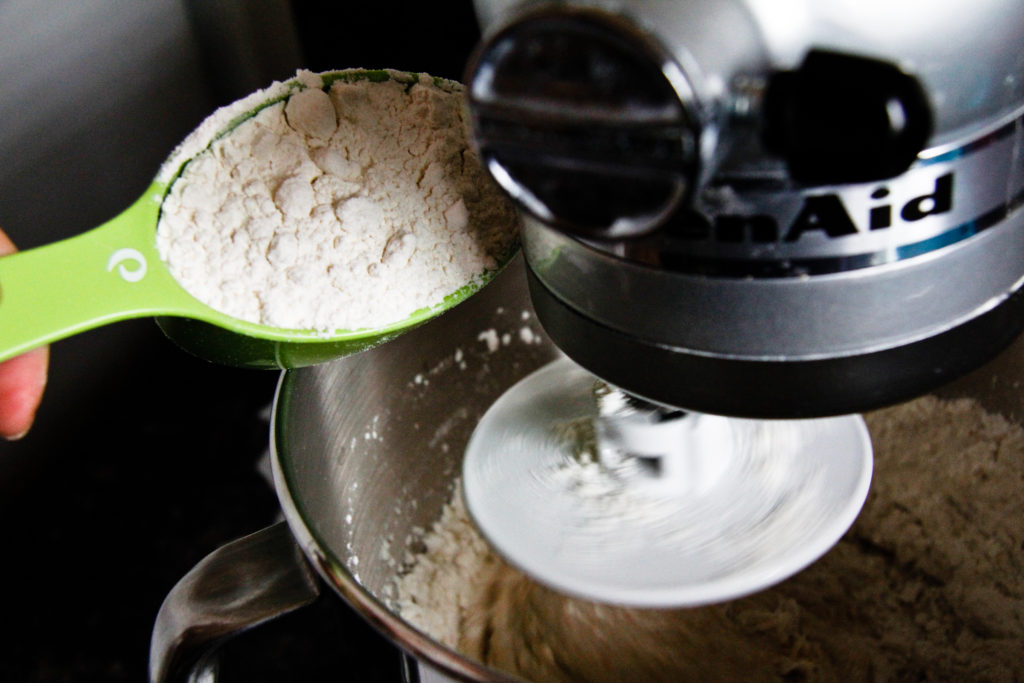
Attach the dough hook and mix while adding more flour slowly in 1/2 cup increments
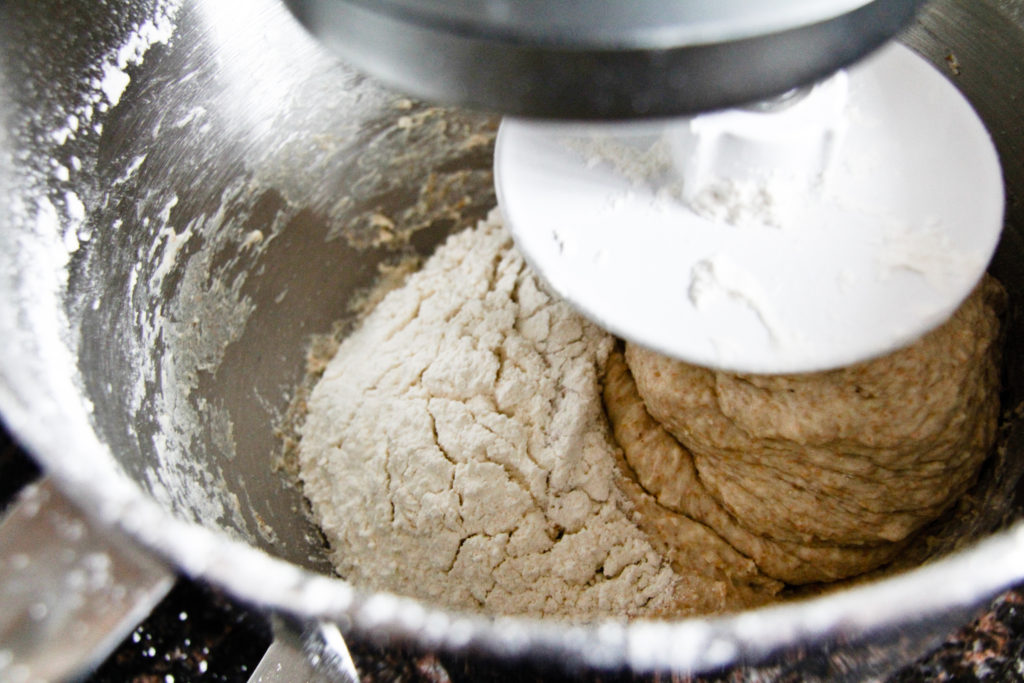
Then voila! You got dough, my friend.
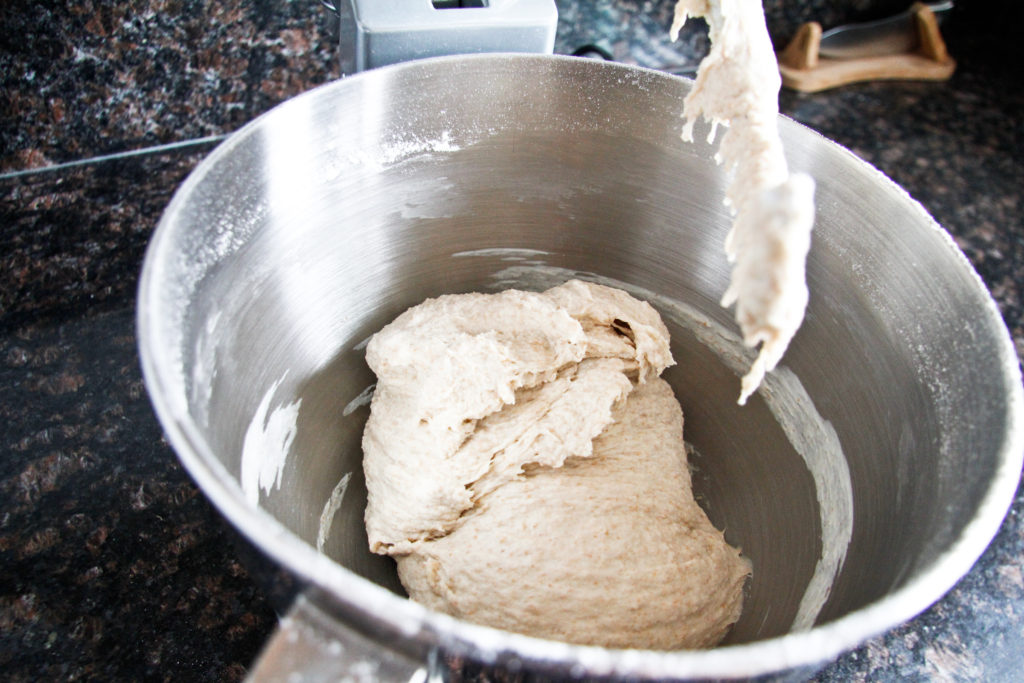
It’s time to go at it by hand. You’re gonna need a little extra sprinkling of flour.
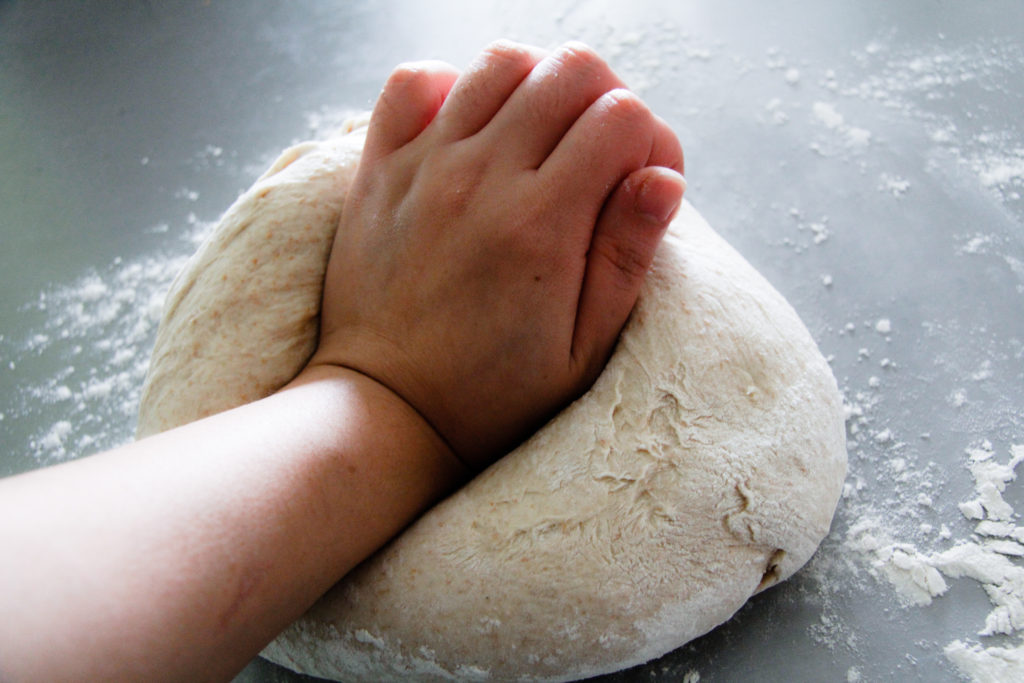
Then push the dough away from you, by awkwardly only using your left hand, while trying to take a non blurry action shot with your right hand, and trying desperately not to get flour on your camera.
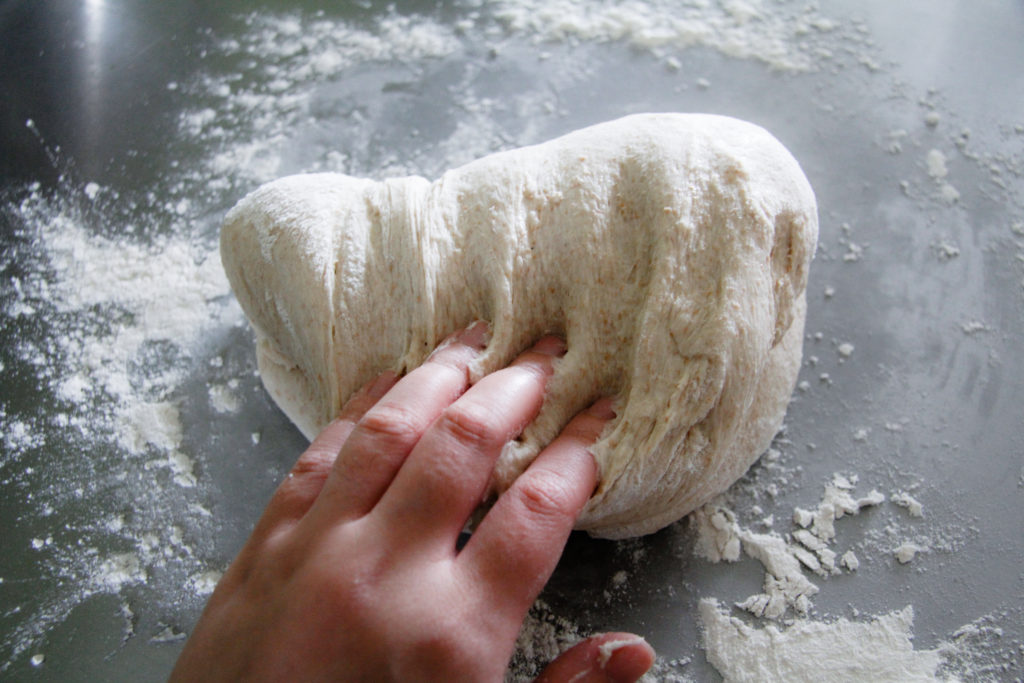
Then pull it towards you. Keep doing that until you get a smooth dough and it springs back when you press it with your fingers. The point of this is to work the gluten in the dough, which gives bread the signature chewy texture.
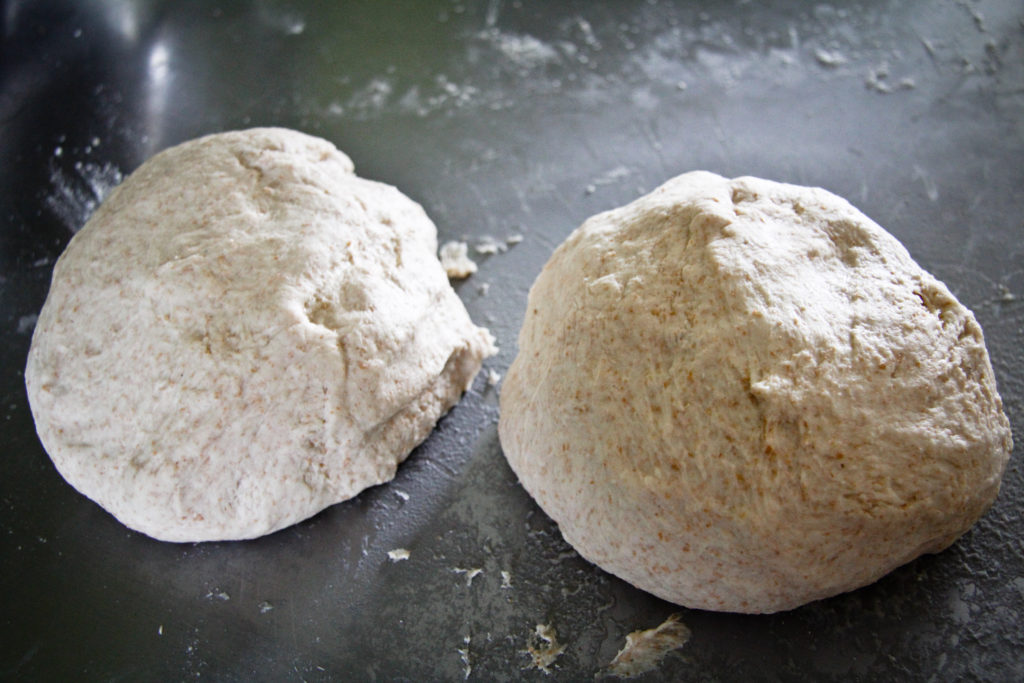
Then you can cut it in half and make two loaves….
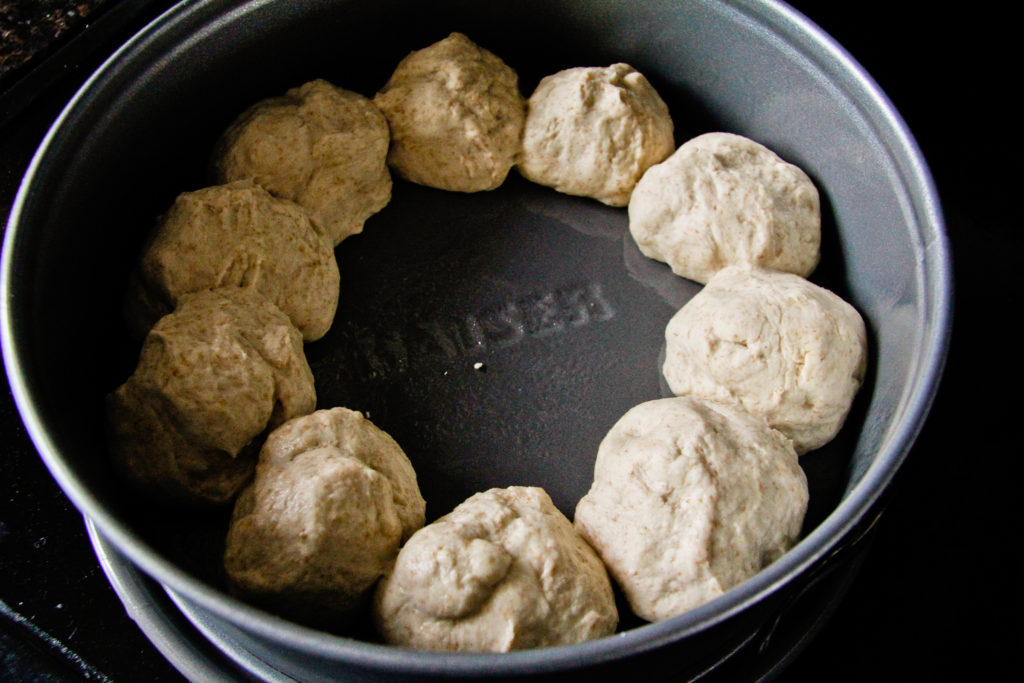
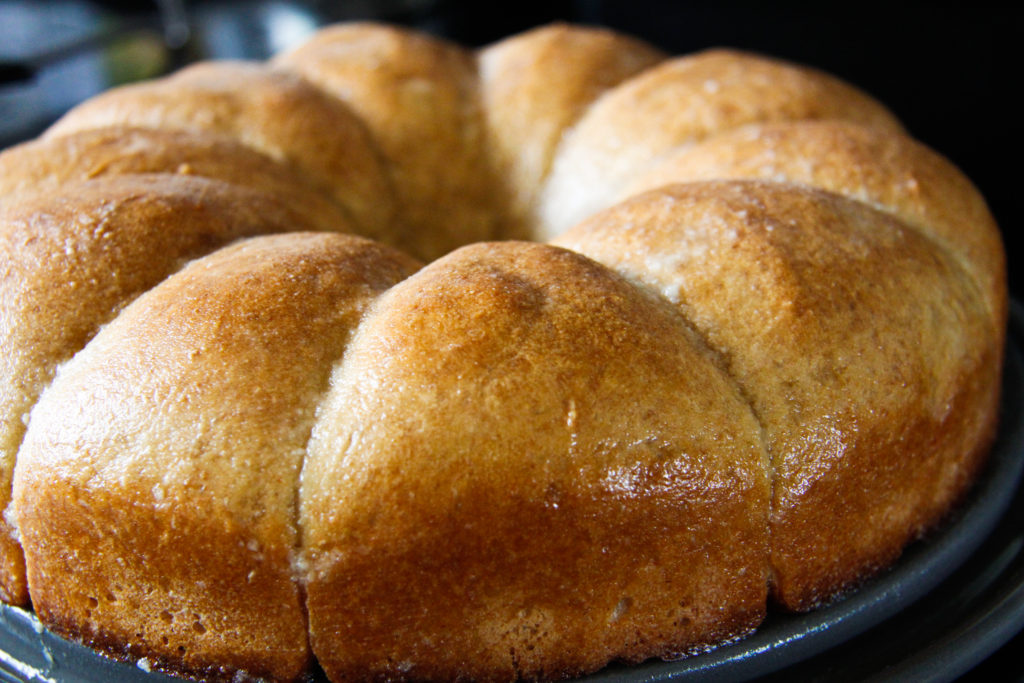
or get creative and make one loaf and a wreath of weird looking rolls, if you don’t have two loaf pans.
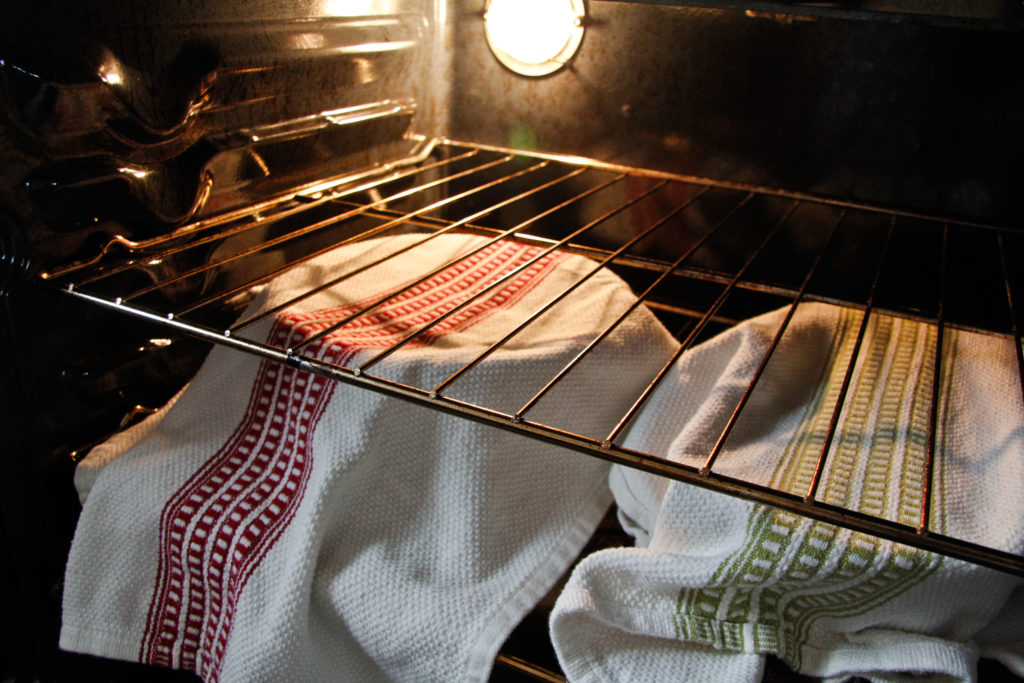
Let them rest, by covering them with clean dry towels, and placing them in an oven with just the light on. Hey! It’s just like Jesus when he died and was placed in the tomb to rest…
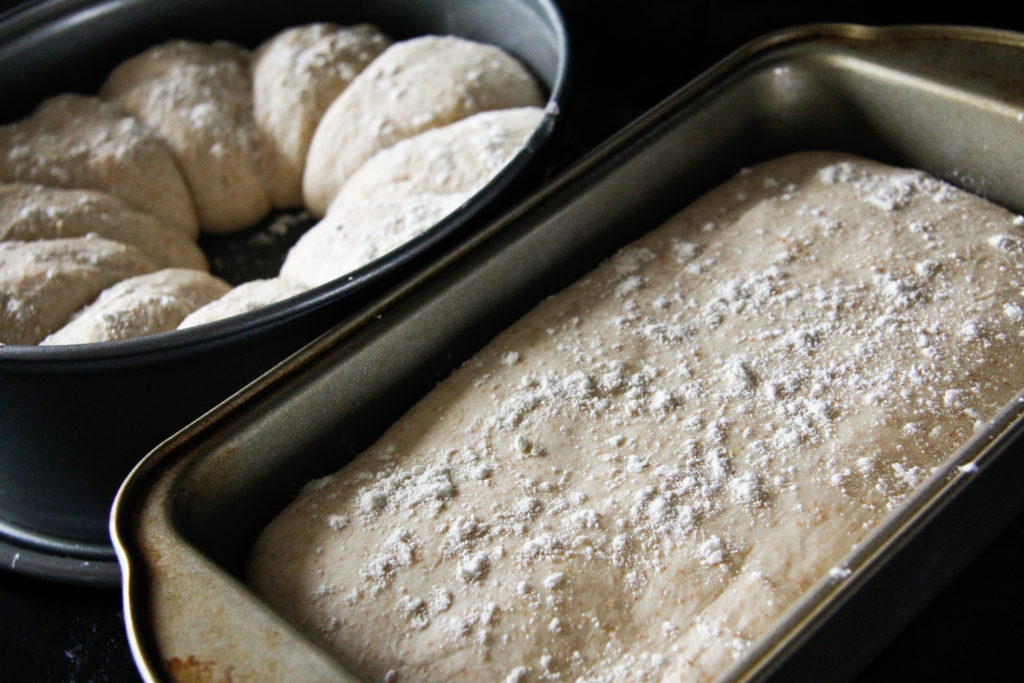
….until He rose again! Sprinkle with a little flour and pop them into a preheated 400 degree oven.
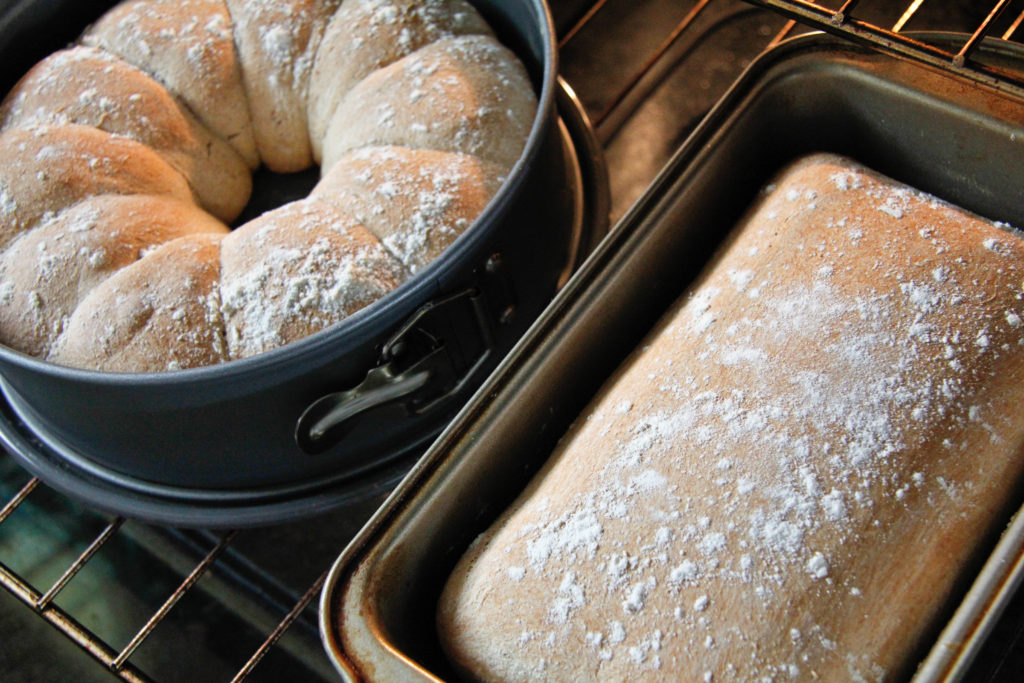
They’ll come out slightly browned and hollow sounding when you tap them… hollow like the empty tomb? Ok, I’ll stop now.
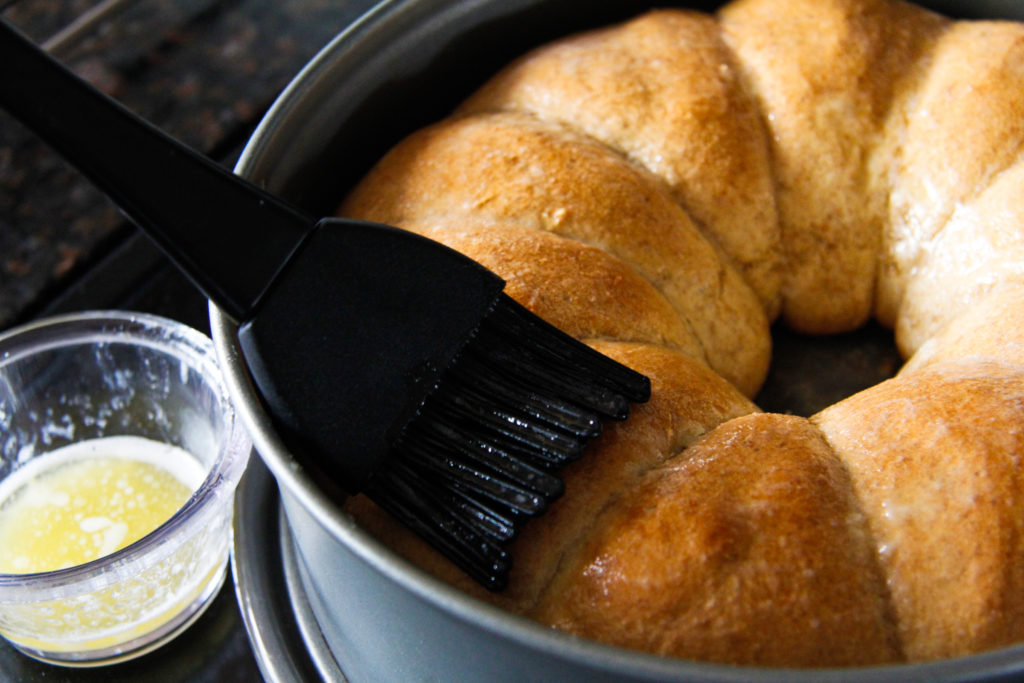
Then it’s up to you whether you want to brush them with melted unsalted butter or not. I did, so that the crusts would get soft and they’d look deliciously golden and shiny.
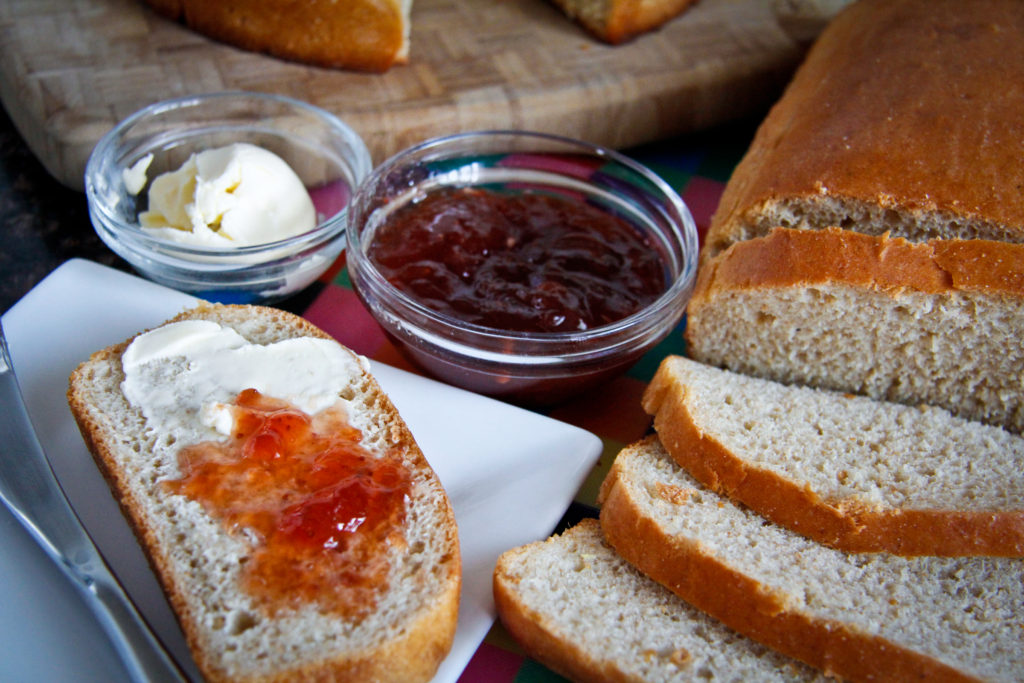
And then there was nothing left to do, but to eat a slice with butter and jam.
I took my own advice from the recipe and stored both the rolls and sliced bread in the freezer. Joe and I ended up eating the bread all week in different ways. Out of the rolls, I made garlic bread to eat along with beef stew. With the sliced bread, I decided to make delicious fried egg and cheese sandwiches, which were simple, yet delightfully tasty thanks to the chewy homemade bread.
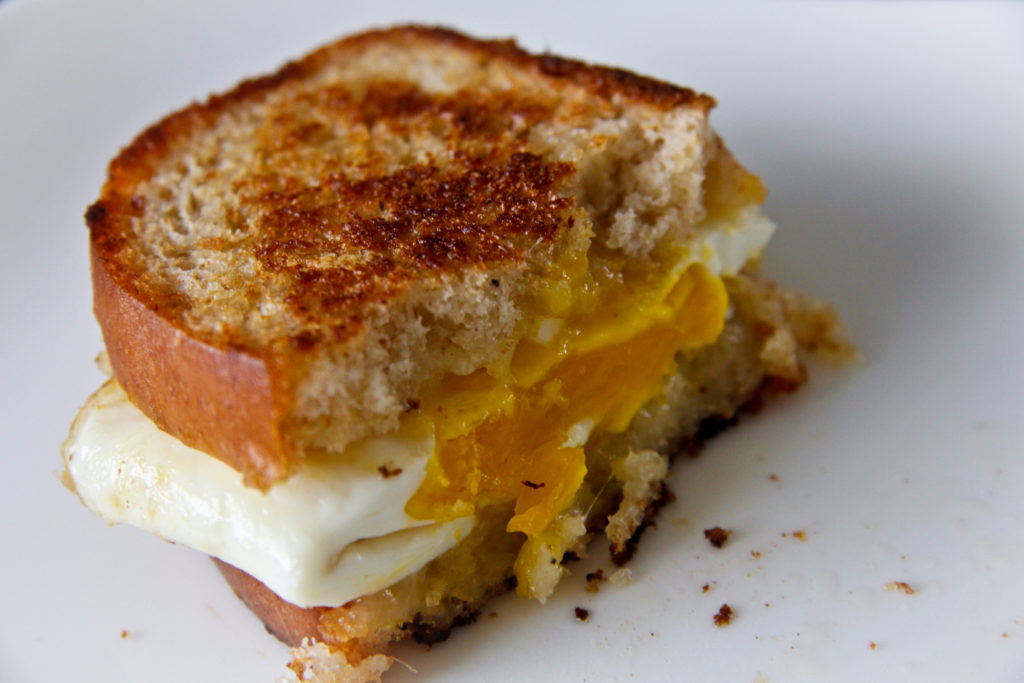
Oh and look at that… what do you know… I did write about eggs after all…
Single Rise Bread
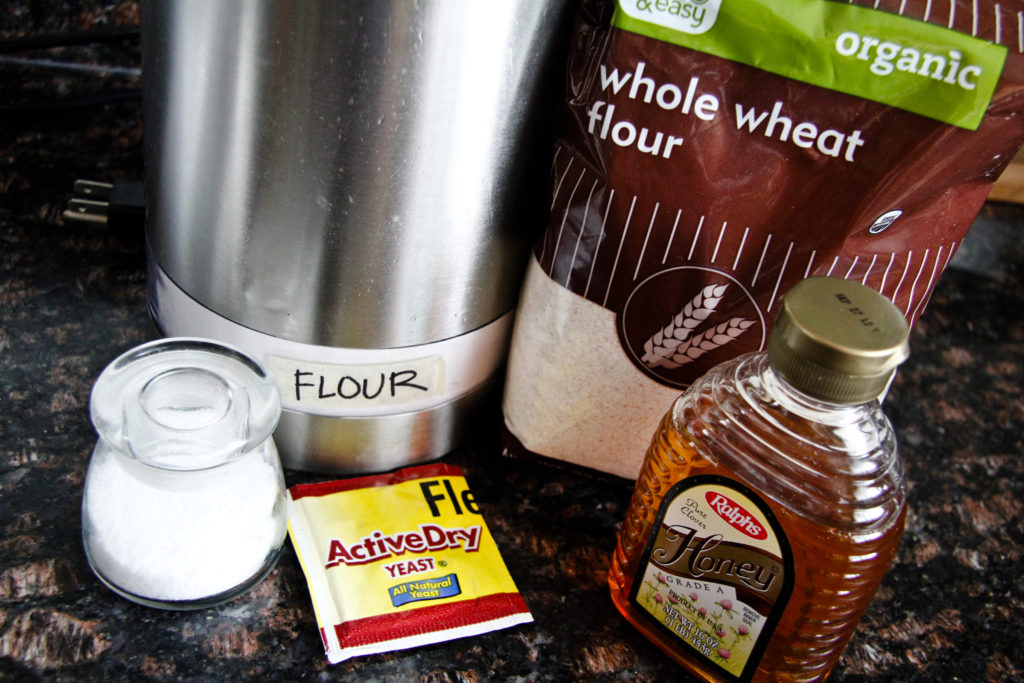
Ingredients
- 1 ¼ oz packet dry yeast
- 2 ¼ cups lukewarm water divided
- 1 teaspoon sugar
- 2 tablespoons honey optional
- 4 ½ cups all purpose flour divided
- 1 cup whole wheat flour
- 1 tablespoon kosher salt
- 1-2 Tablespoons unsalted butter melted (optional)
Instructions
- Spray 2 loaf pans with nonstick cooking spray.
- In a measuring cup, pour in ¼ cup of lukewarm water and yeast. Stir in the sugar and mix until the yeast dissolves. Wait about 5-10 minutes to see if the yeast mixture turns foamy and doubles in volume. If it doesn't, the yeast is bad, so throw it out and start over.
- Put the yeast mixture into the bowl of an electric mixer and add in 2 cups lukewarm water and the optional honey. Feel free to add more if you want your bread to have a hint of sweetness. Then add in 2 cups of the all purpose flour, along with the wheat flour and salt. With the dough hook, mix everything together on medium-low speed for a couple minutes. Then add in the remaining 2 ½ cups of all purpose flour, a half cup at a time, while continuing to mix.
- Then turn the mixer to low and mix for 5 minutes (or alternatively, knead by hand if you don't have a mixer). Take it out of the mixer bowl, onto a work surface, sprinkled with a little all purpose flour and knead for about 2-3 minutes, or until the dough springs back when you press it with your fingers.
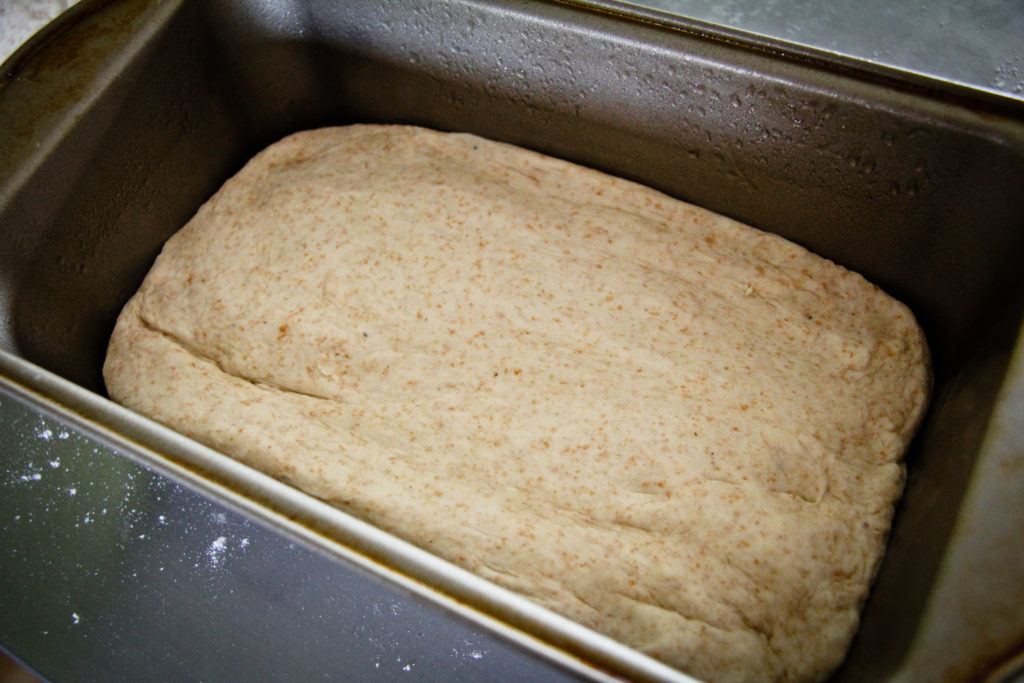
- Cut the dough into 2 pieces and plop each piece into a loaf pan. Gently stretch the dough out so it fills the pan. Or you can shape into round balls and make them into rolls. Cover with clean, dry towels and place in the oven with just the oven light on. The heat of the light bulb should be enough to help them rise. Let them rise for about 1 hour. If they are in loaf pans, they should fill the pans about ¾ of the way full. Take them out of the oven.
- Preheat your oven to 400 degrees. Sprinkle the tops of the loaves with a little all purpose flour and bake on the middle rack for 35-40 minutes, or until they're brown and sound hollow when you tap them. The crusts will be hard. At this point, you can either choose to brush them with melted unsalted butter, so that the crusts will get soft and shiny, or skip the butter and keep them hard. Place them on a cooling rack and wait about an hour before cutting into them.


Definitely a fan of your Easter banter! I am making this recipe as I type, but I do have a quick question: can I sub however much whole wheat flour for all-purpose in this recipe?
I’m planning on experimenting anyway but thought I’d try for an answer. Thanks!
Hi Morgan.
I’m sorry I missed your comment! You prob already experimented by now so I’m curious to know your answer. I never tried it with anything else so I don’t want to answer you incorrectly or lead you astray. I believe that the wheat flour has a different texture than AP flour. I think you can substitute 1 for 1, but it will just have a different taste and consistency. If you figured it out, please let me know!
I found your channel last night thanks to the suggestive powers of YouTube and watched several Season 2 and 3 episodes before bedtime — I admit it, I’m hooked! {grin} Figured I’d stop by here today and check out your blog, too. Oh happy day, when Jesus washed my sin away! It’s always a delight to meet a fellow follower of the Way, and bonus: way yummy recipes… {grin} Thank you for sharing —– both your faith and your food!
Hi Julie! I just came across your blog and I’m looking forward to reading through it. :). I’m intrigued that this bread only rises once. Does it give the bread a different taste? Can this be done with any recipe?
Thanks!
Linda
Love your recipe and thoughts on Easter. God bless you
Thanks… I got a little carried away while writing this post!